LO 1
Moodboard for Branding Twist Twist Twist


This process helped us align our creative vision . Sharing visual inspiration made it easier to understand how each person saw the agency. Giving and receiving feedback helped us choose what styles and colors worked best. By the end, we had a clear and shared direction for our agency's identity.

I learned how to translate abstract ideas like “twist” into visual concepts and how to support design choices with reasoning. Working with moodboards also helped me see how important early visual exploration is for building a strong brand identity.

Next time, I’d suggest we combine our favorite elements into one shared moodboard earlier , so we save time. I’d also try to explore more visual references beyond Pinterest to bring in a wider range of ideas.
Creating Logo


The creative process moved smoothly after I understood the team’s preferences. Working in different tools helped me shape a clearer design. I felt more confident about the direction once we aligned on the concept.
I learned how to build a design from abstract ideas like motion. Exploring multiple directions made it easier to find the right fit. Feedback helped me improve faster, and using different tools taught me how to shift from rough ideas to something polished and functional.
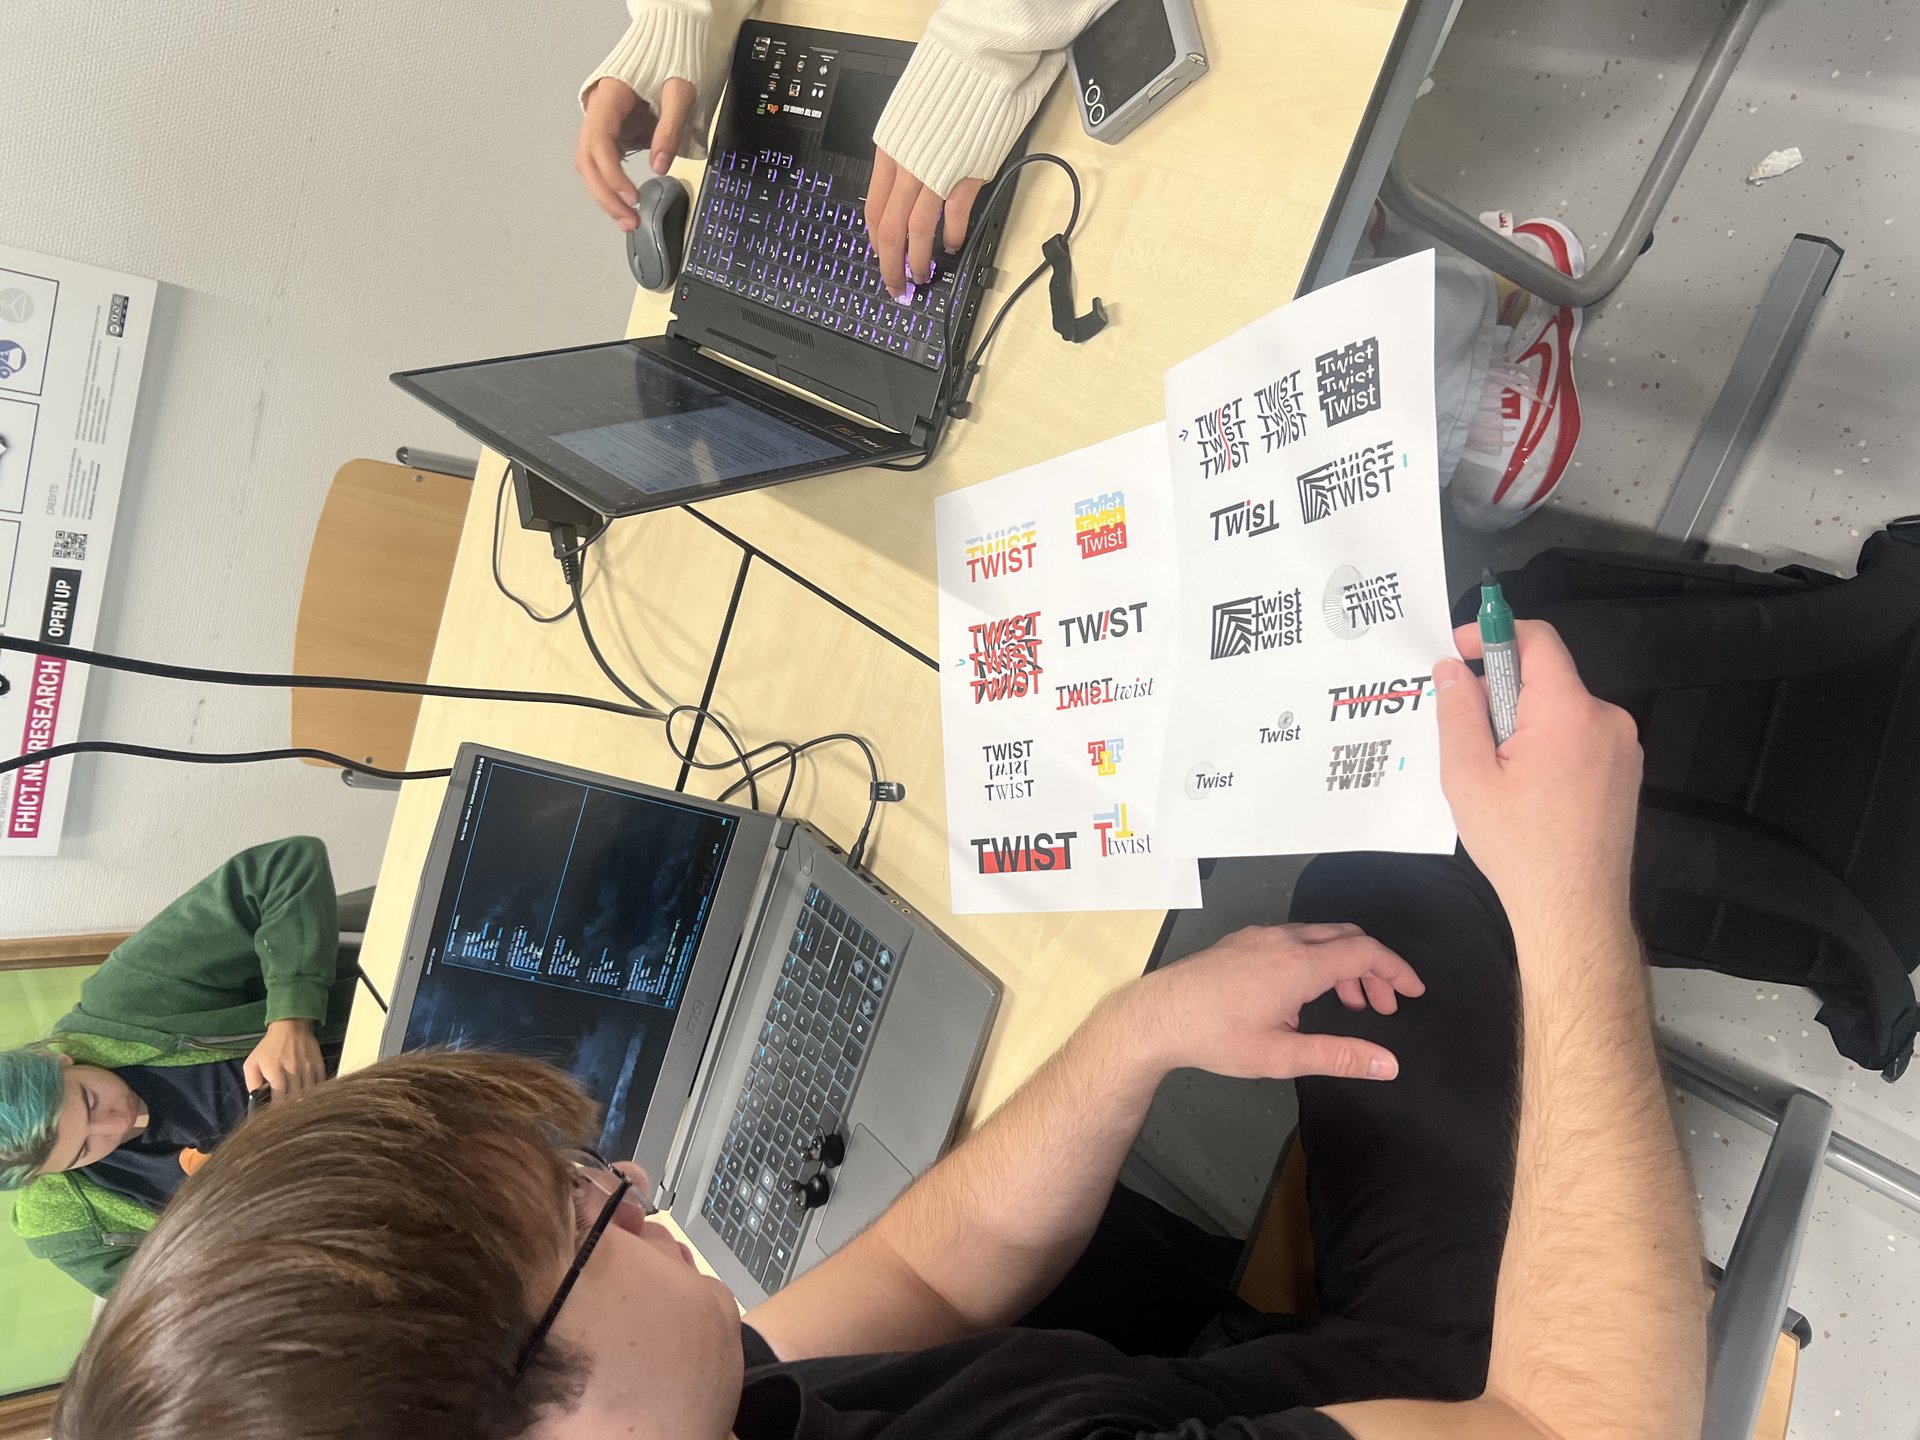
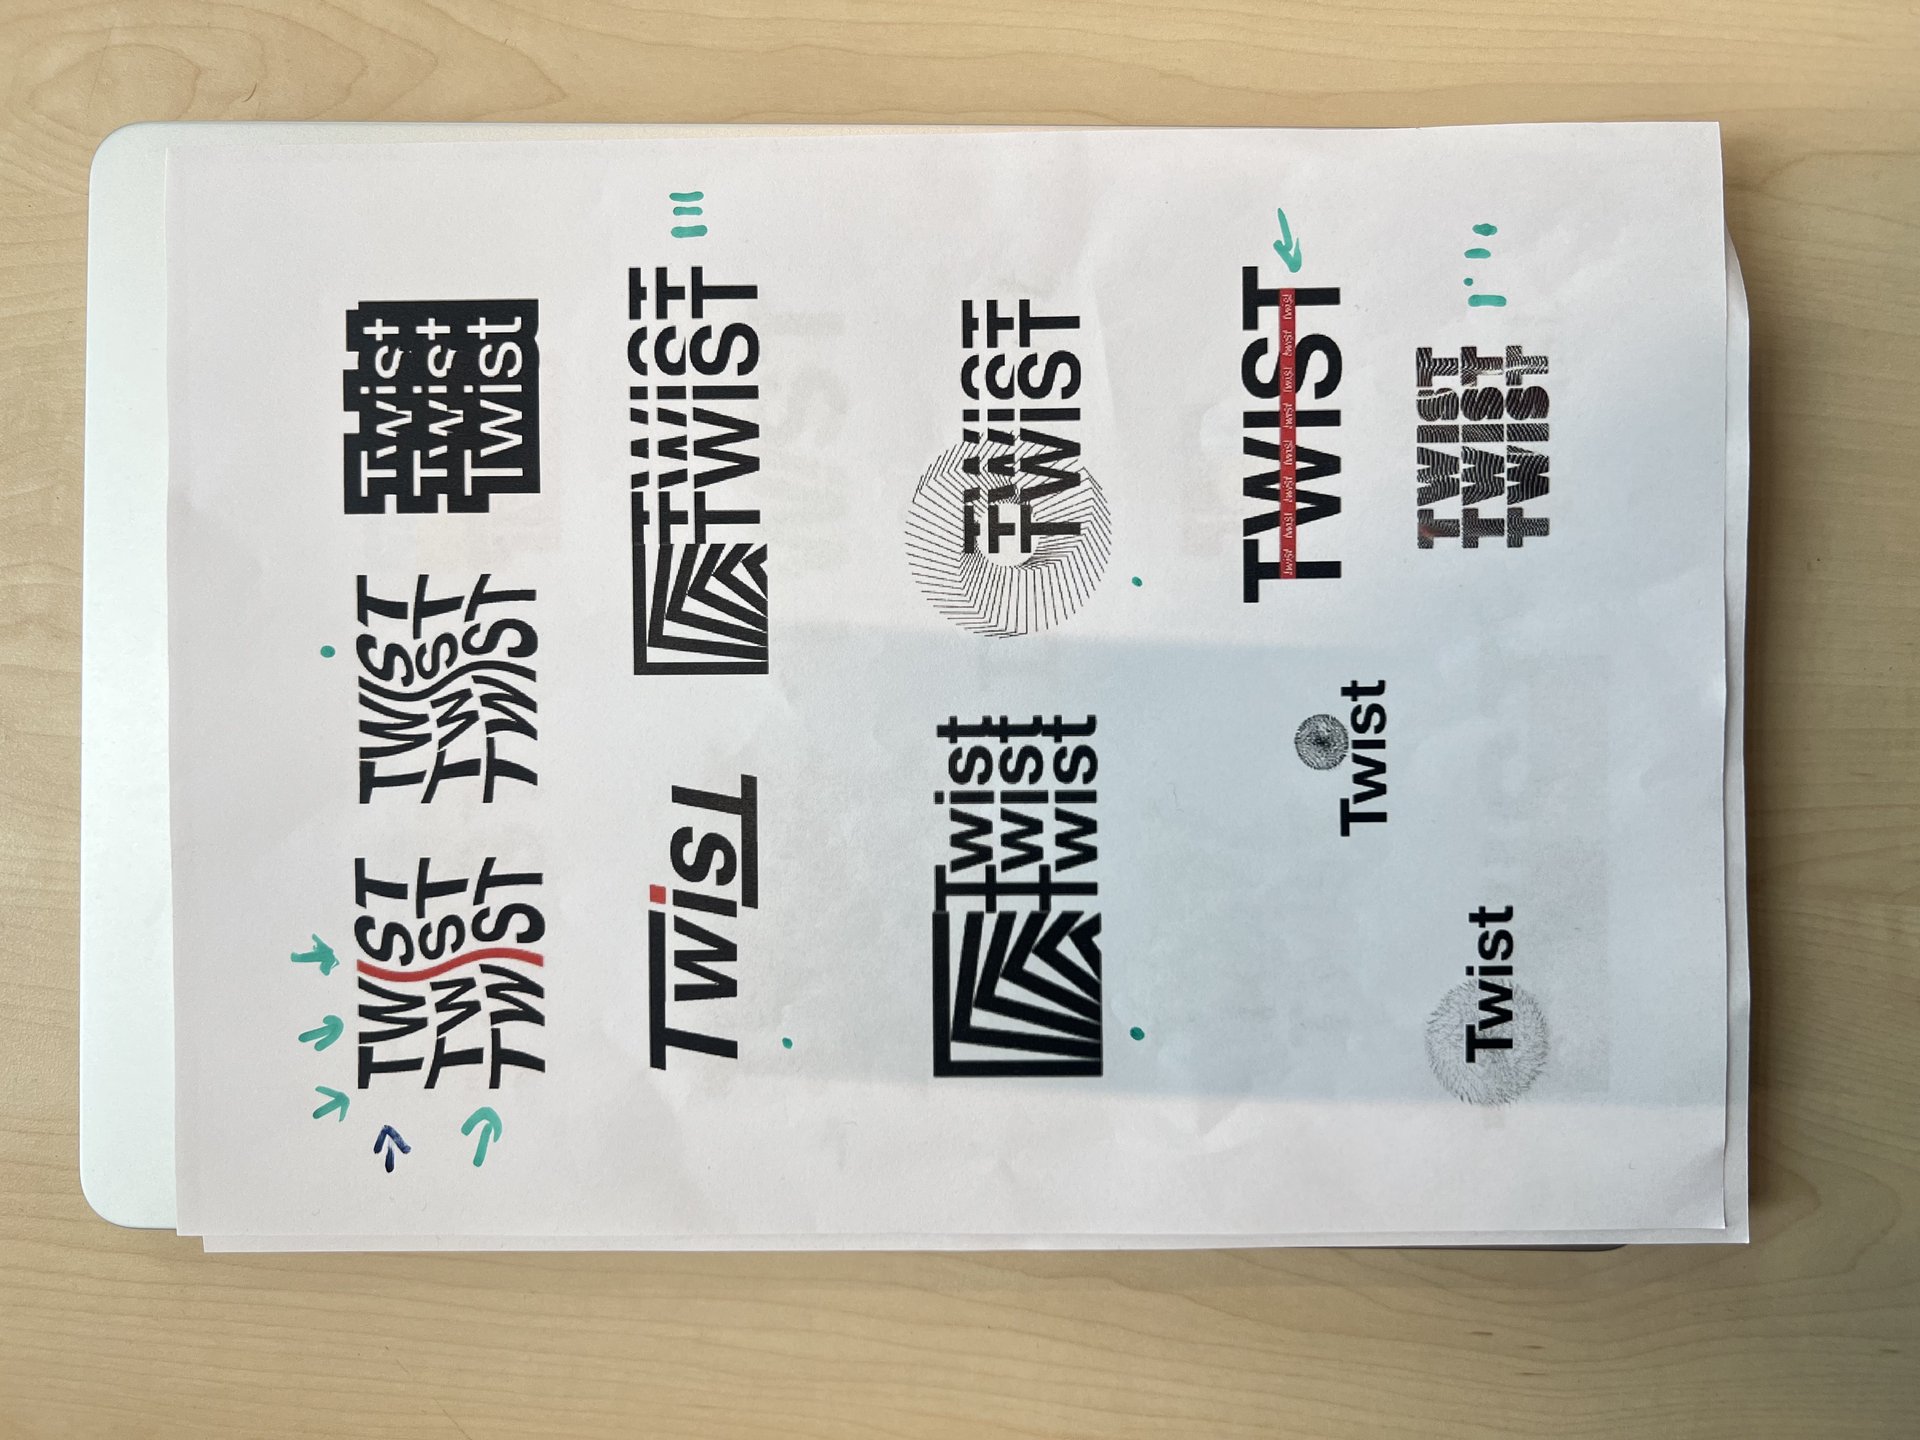
Next time, I’d test more type options earlier in the process. I’d also try quick animation mockups to explore movement visually. Overall, I felt the workflow gave me a solid foundation to build a fitting logo.
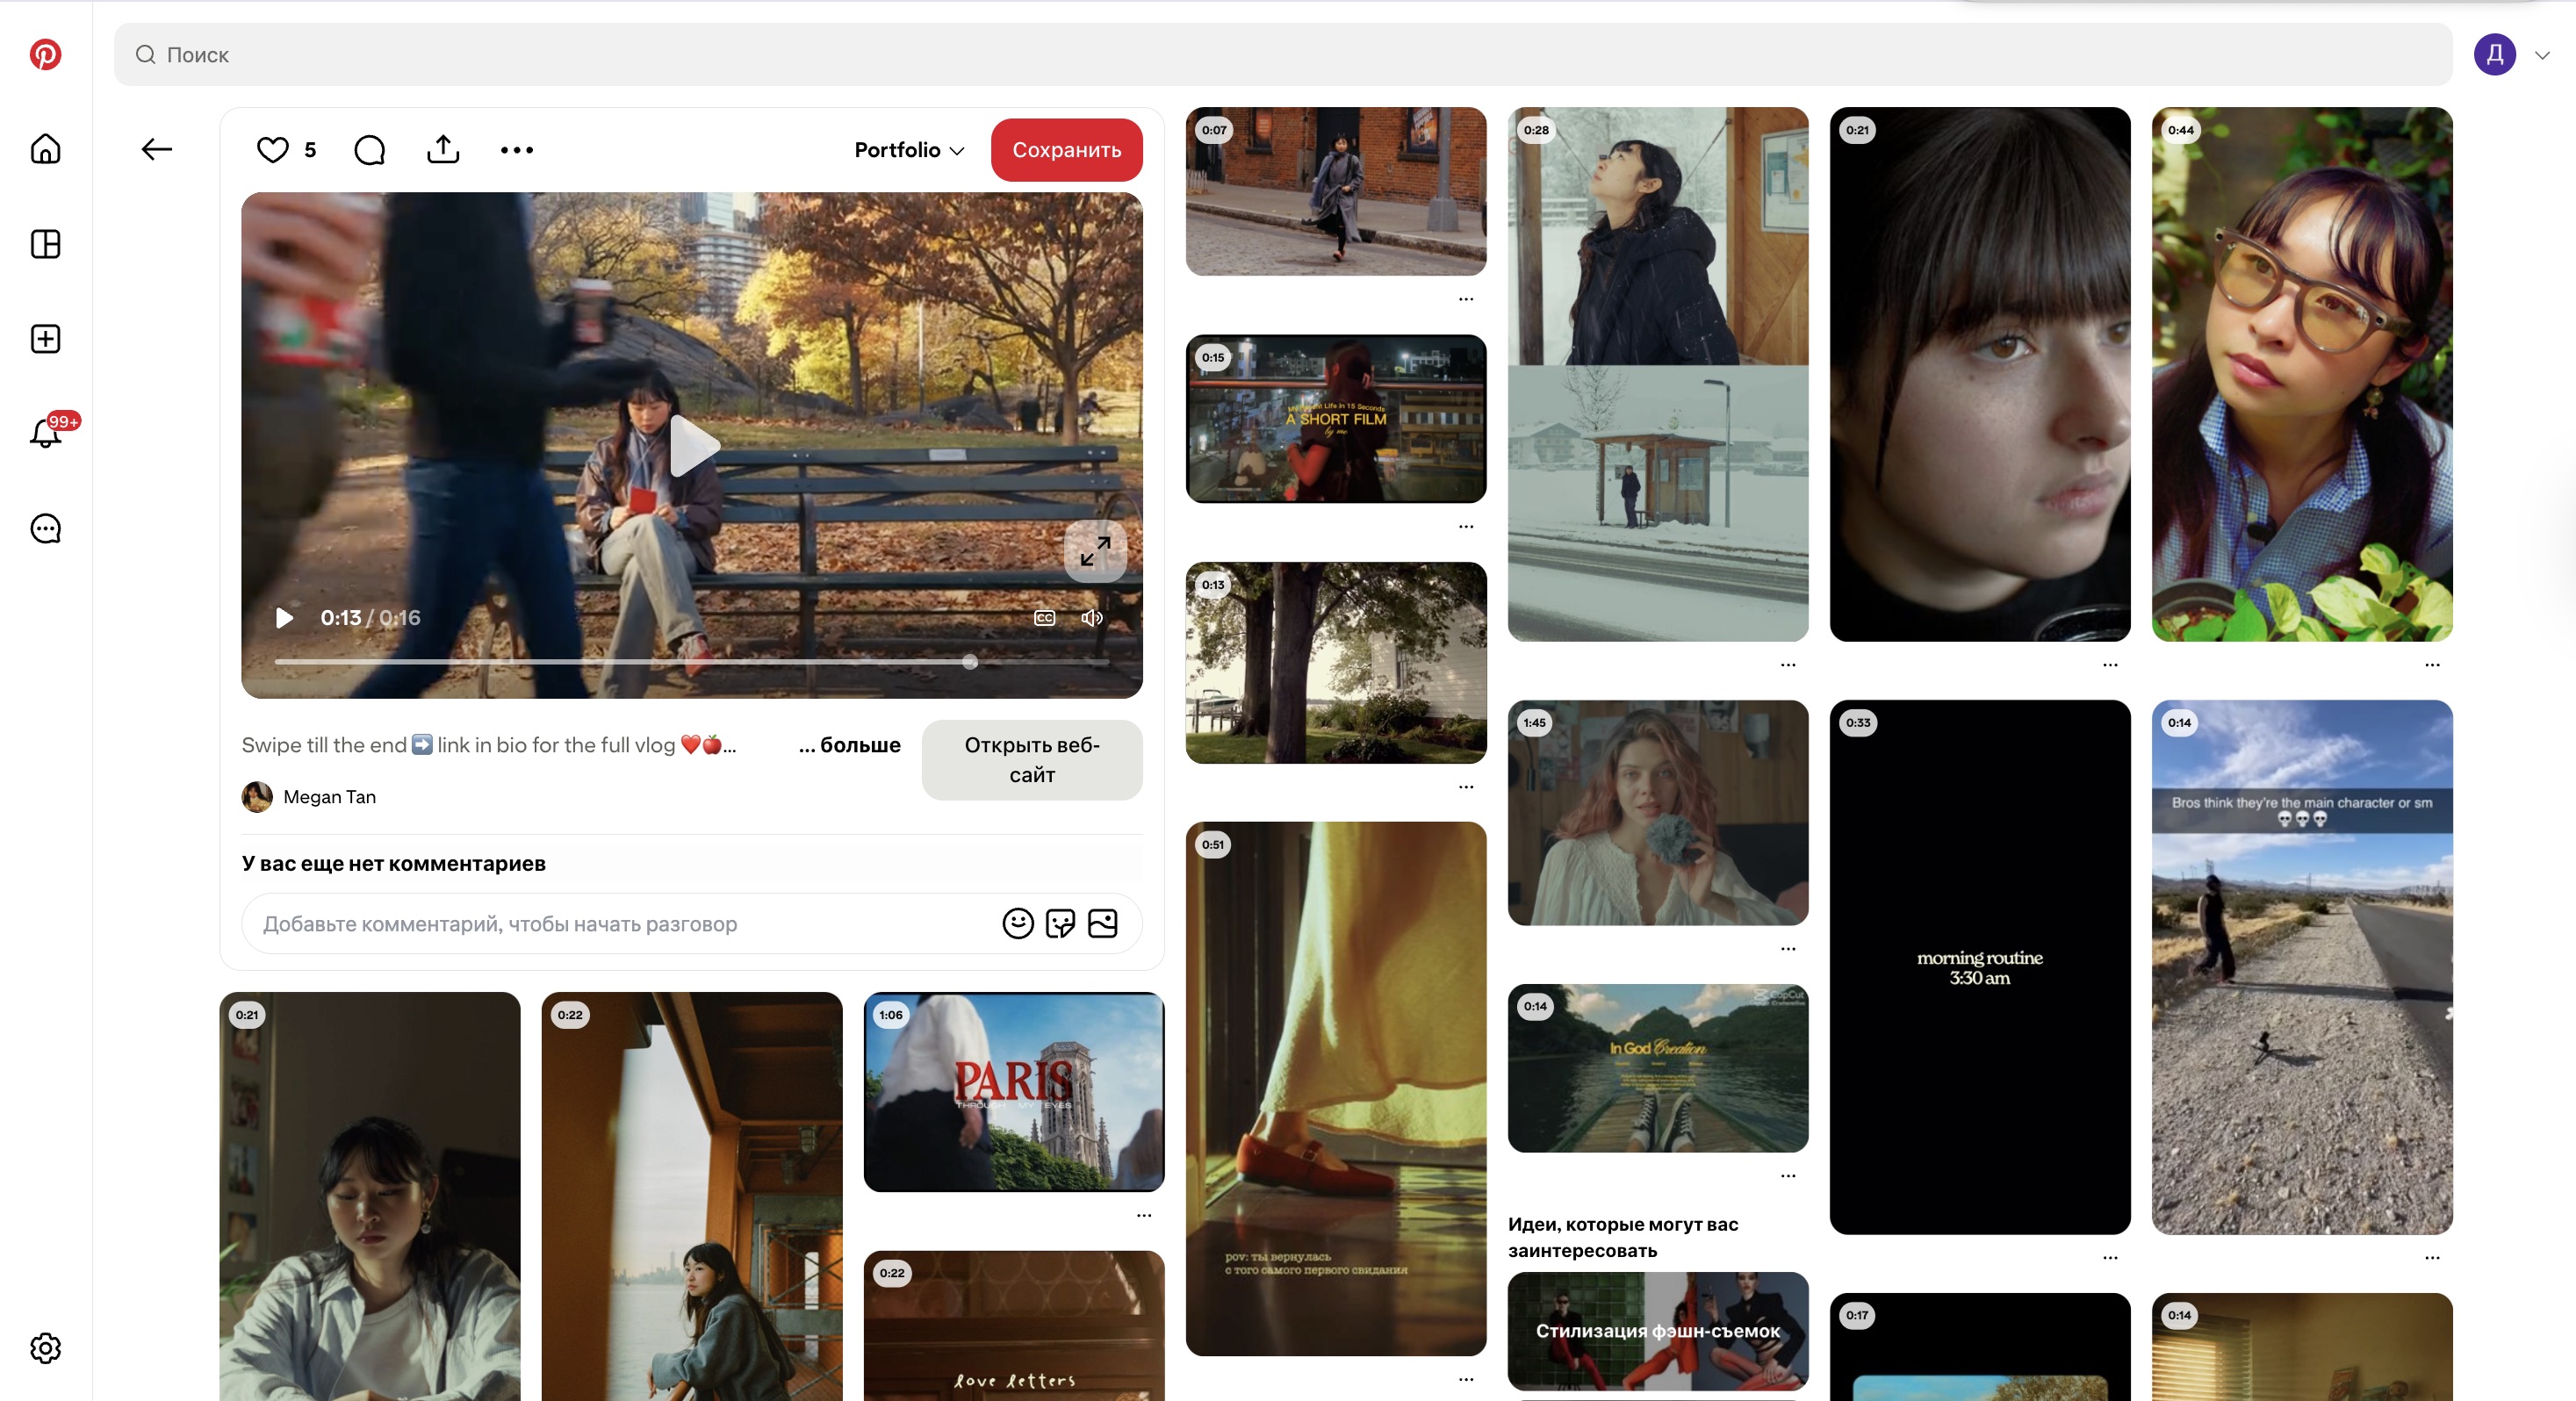
Idea for Portfolio
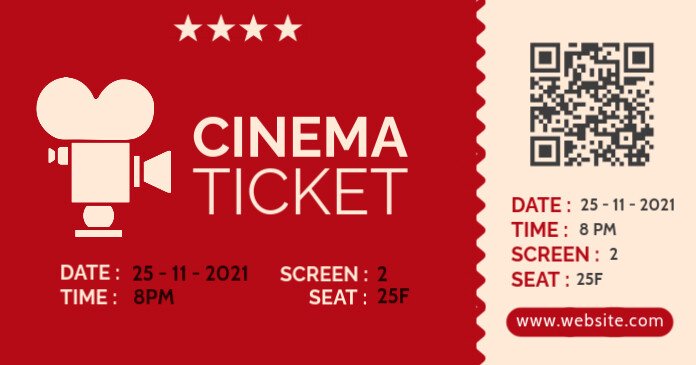
The idea came together after exploring different ways to visually support my video work. Looking for inspiration helped shape a clear visual direction , and I enjoyed the process of illustrating again. Bringing those elements into Figma and adding motion gave the design more personality and made the theme stronger.


I learned how to turn an abstract concept into a visual narrative. Working between Illustrator and Figma helped me bridge creative illustration with interactive design , and I gained confidence in combining different tools to develop a unique, cohesive portfolio experience.
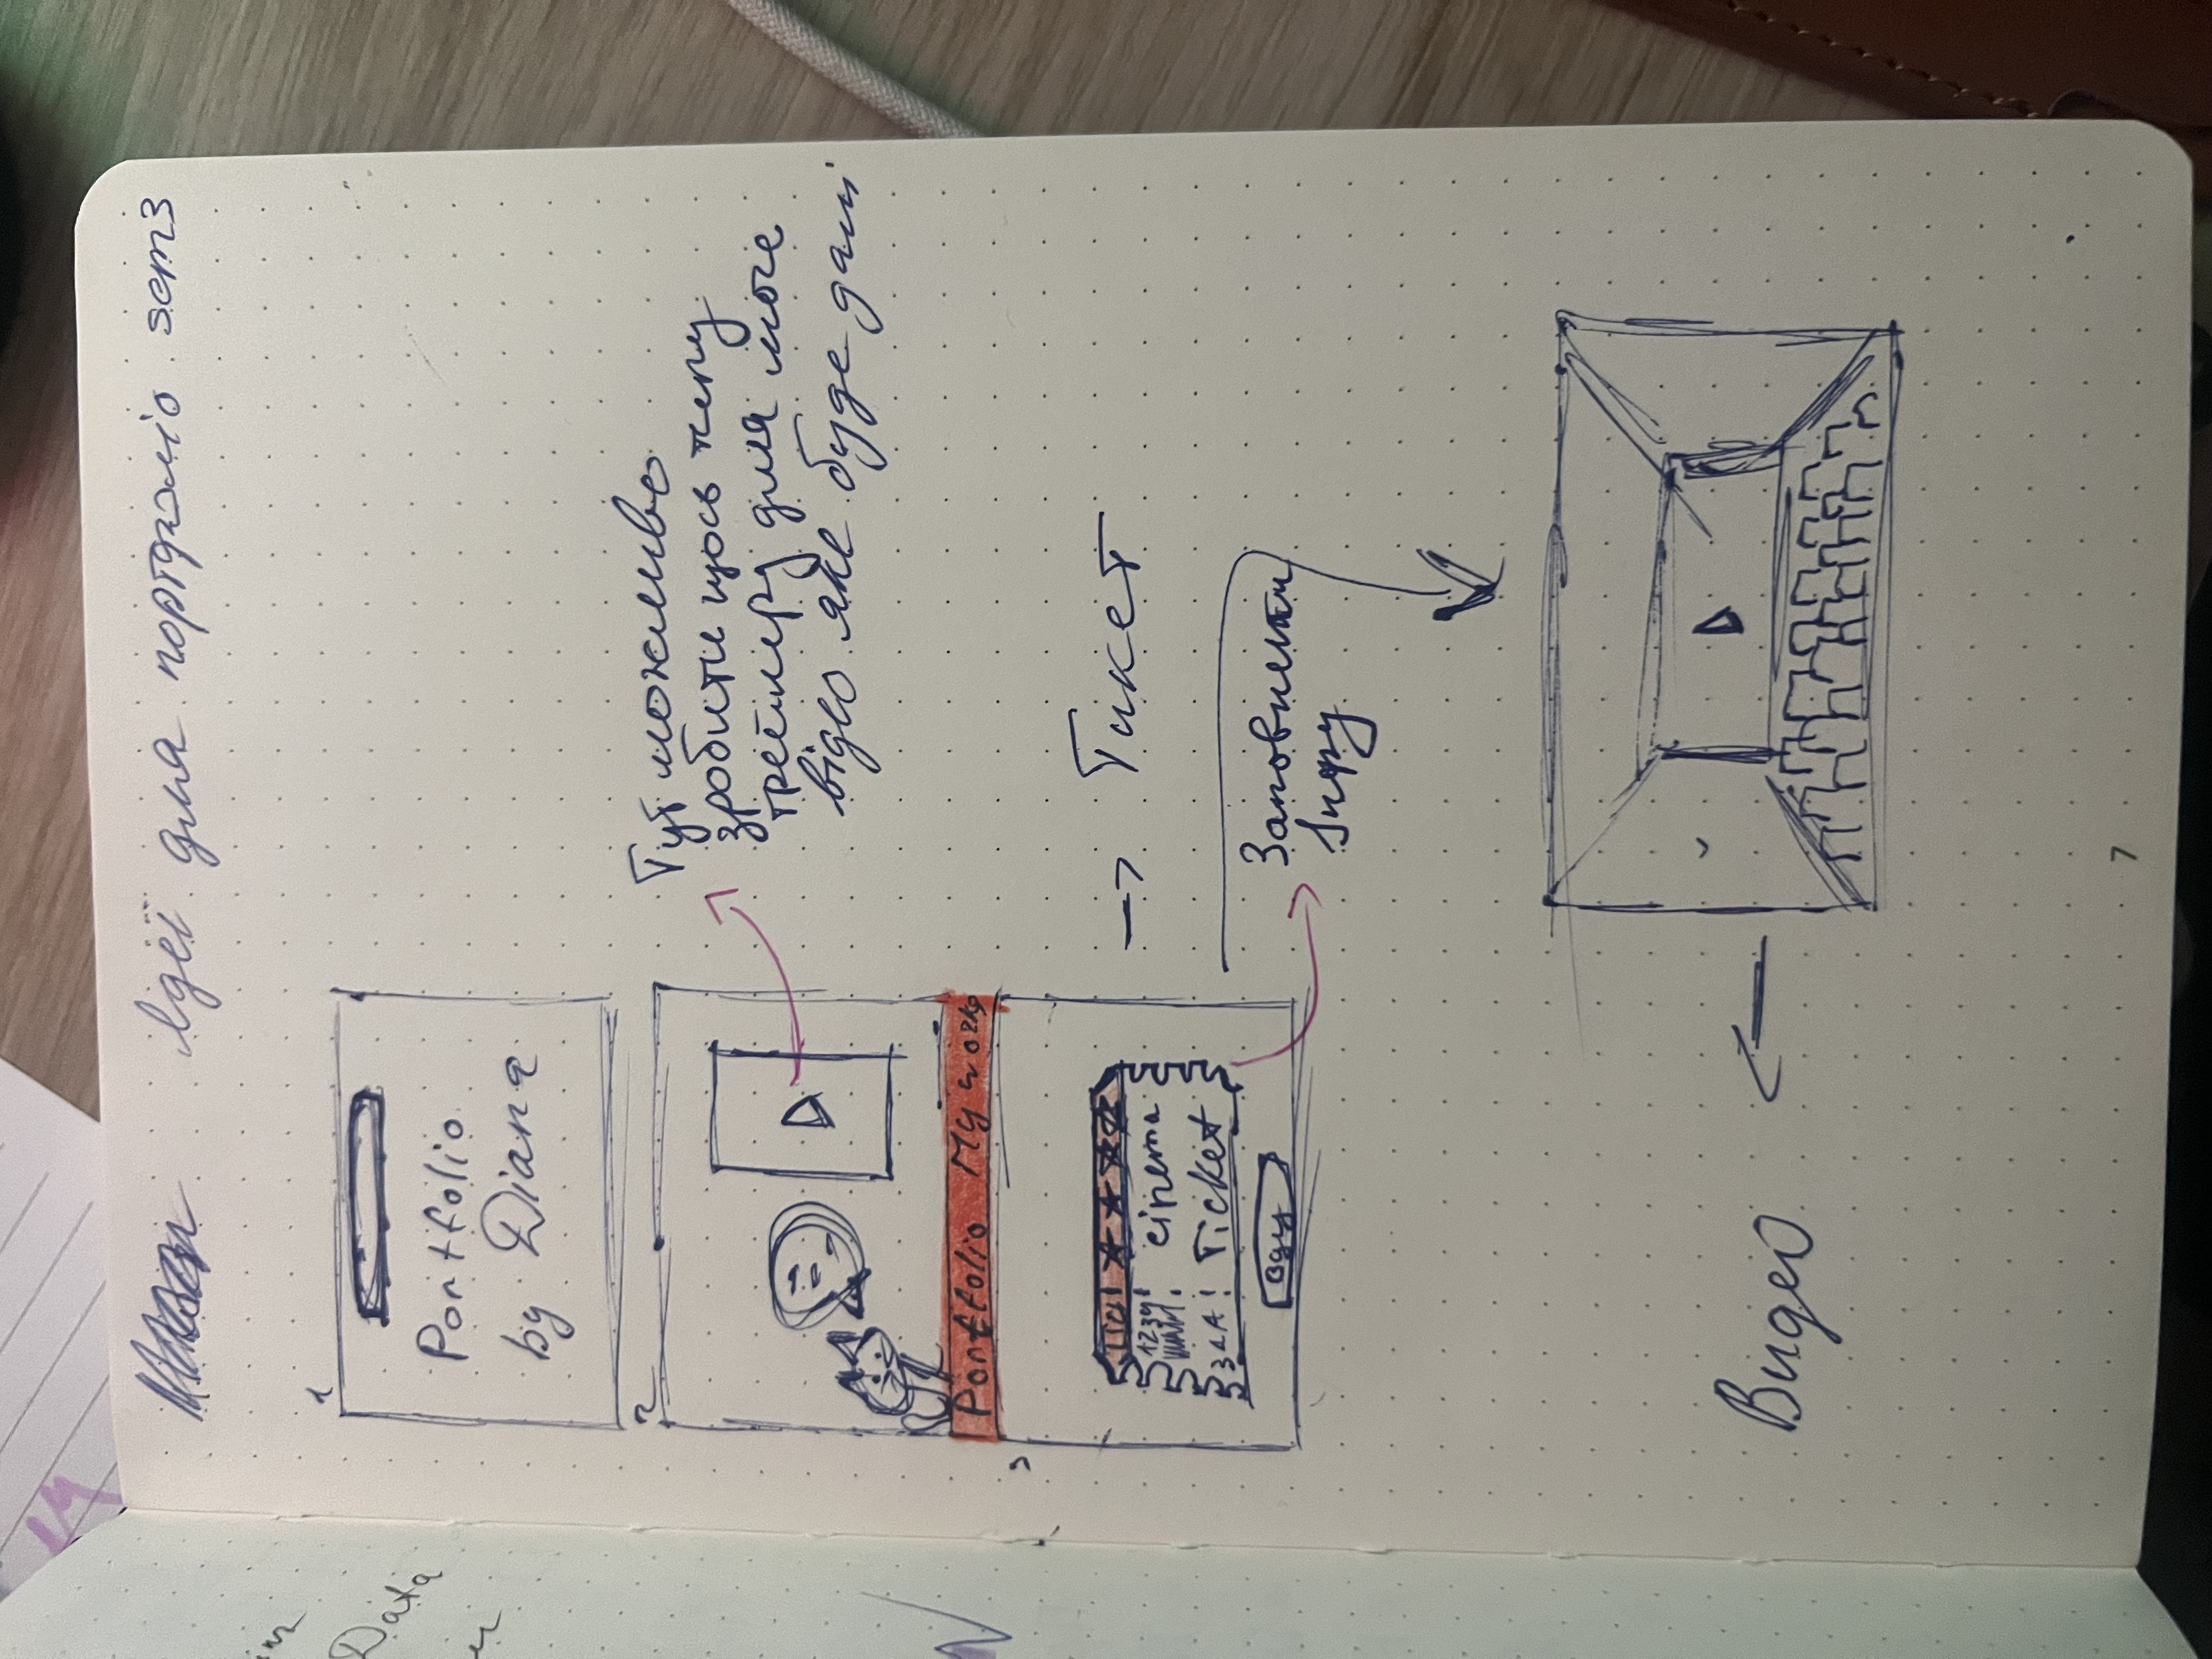

Next time, I’d explore testing different visual themes earlier. That way, I could compare more directions before committing. Also, I am planning to do more animations to make my design more interactive.
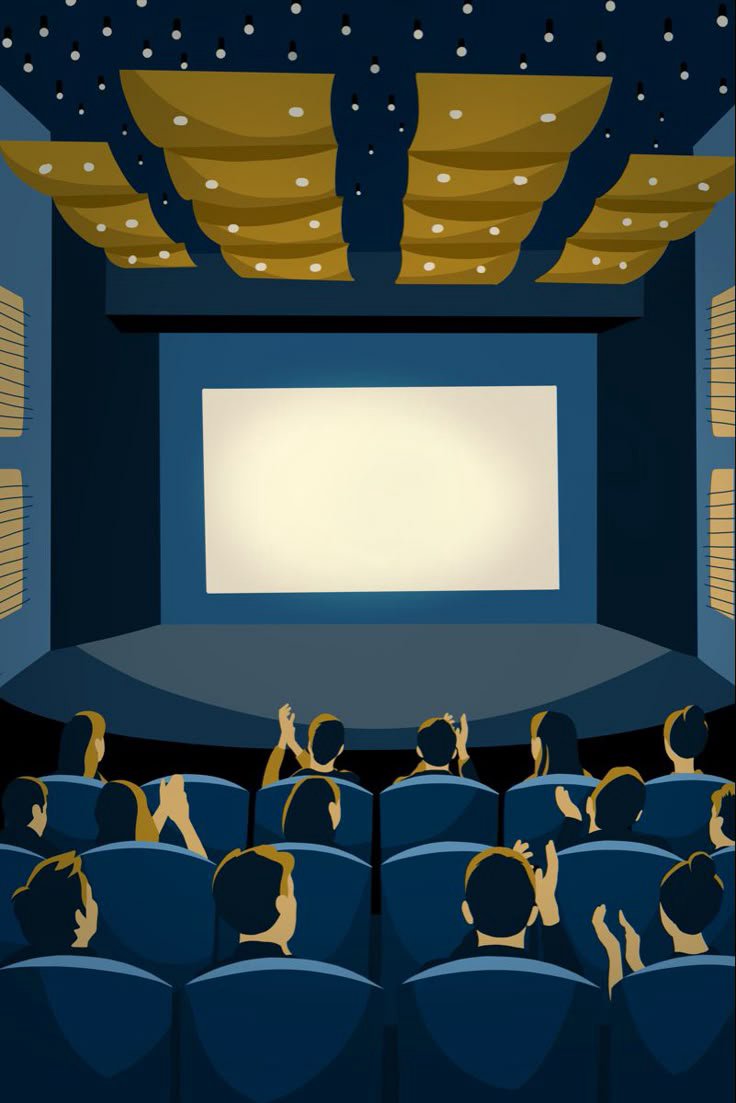
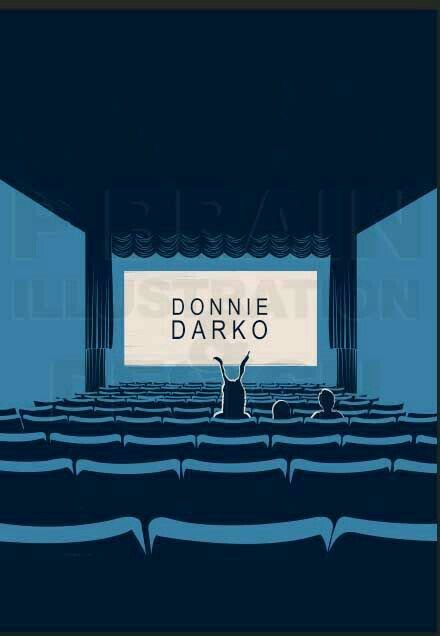
Moodboard + Idea for my video

Putting the moodboard together really helped me turn my ideas into something more concrete . It took a bit of time to land on the exact style I wanted, but diving deep into references helped me stay consistent. The whole process gave me a clearer creative direction from the start.
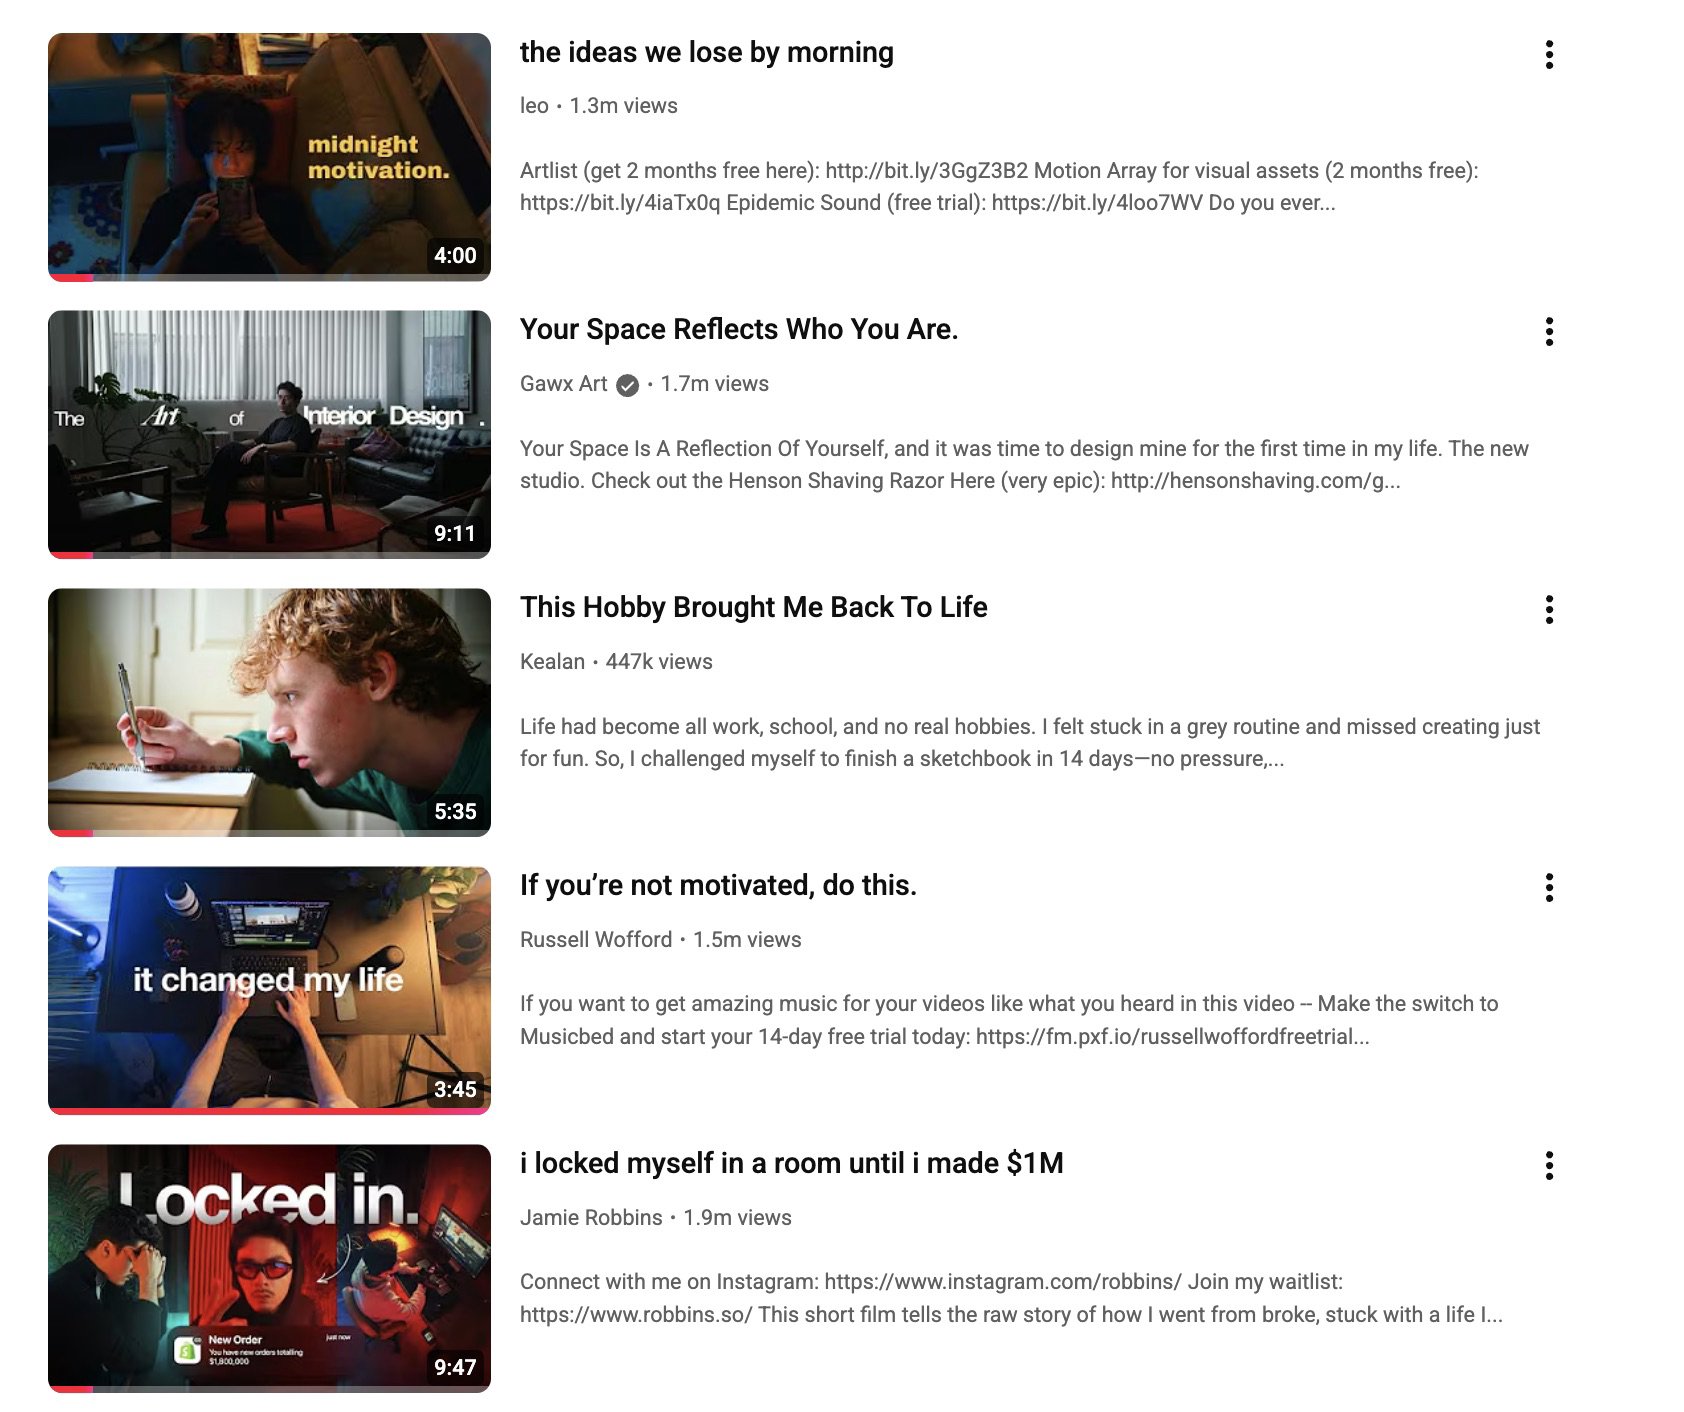

I learned how useful it is to organize visual ideas early on to shape the final concept . It made a big difference seeing how colors, lighting, and tone all work together to build a feeling. It also showed me how tools like Figma can support creative planning in a professional way.
Next time, I’d try grouping my references more clearly—maybe by lighting, framing, or color—so it’s easier to plan my shots later. That would make the jump from concept to filming a lot smoother.
Creation of Concept Poster

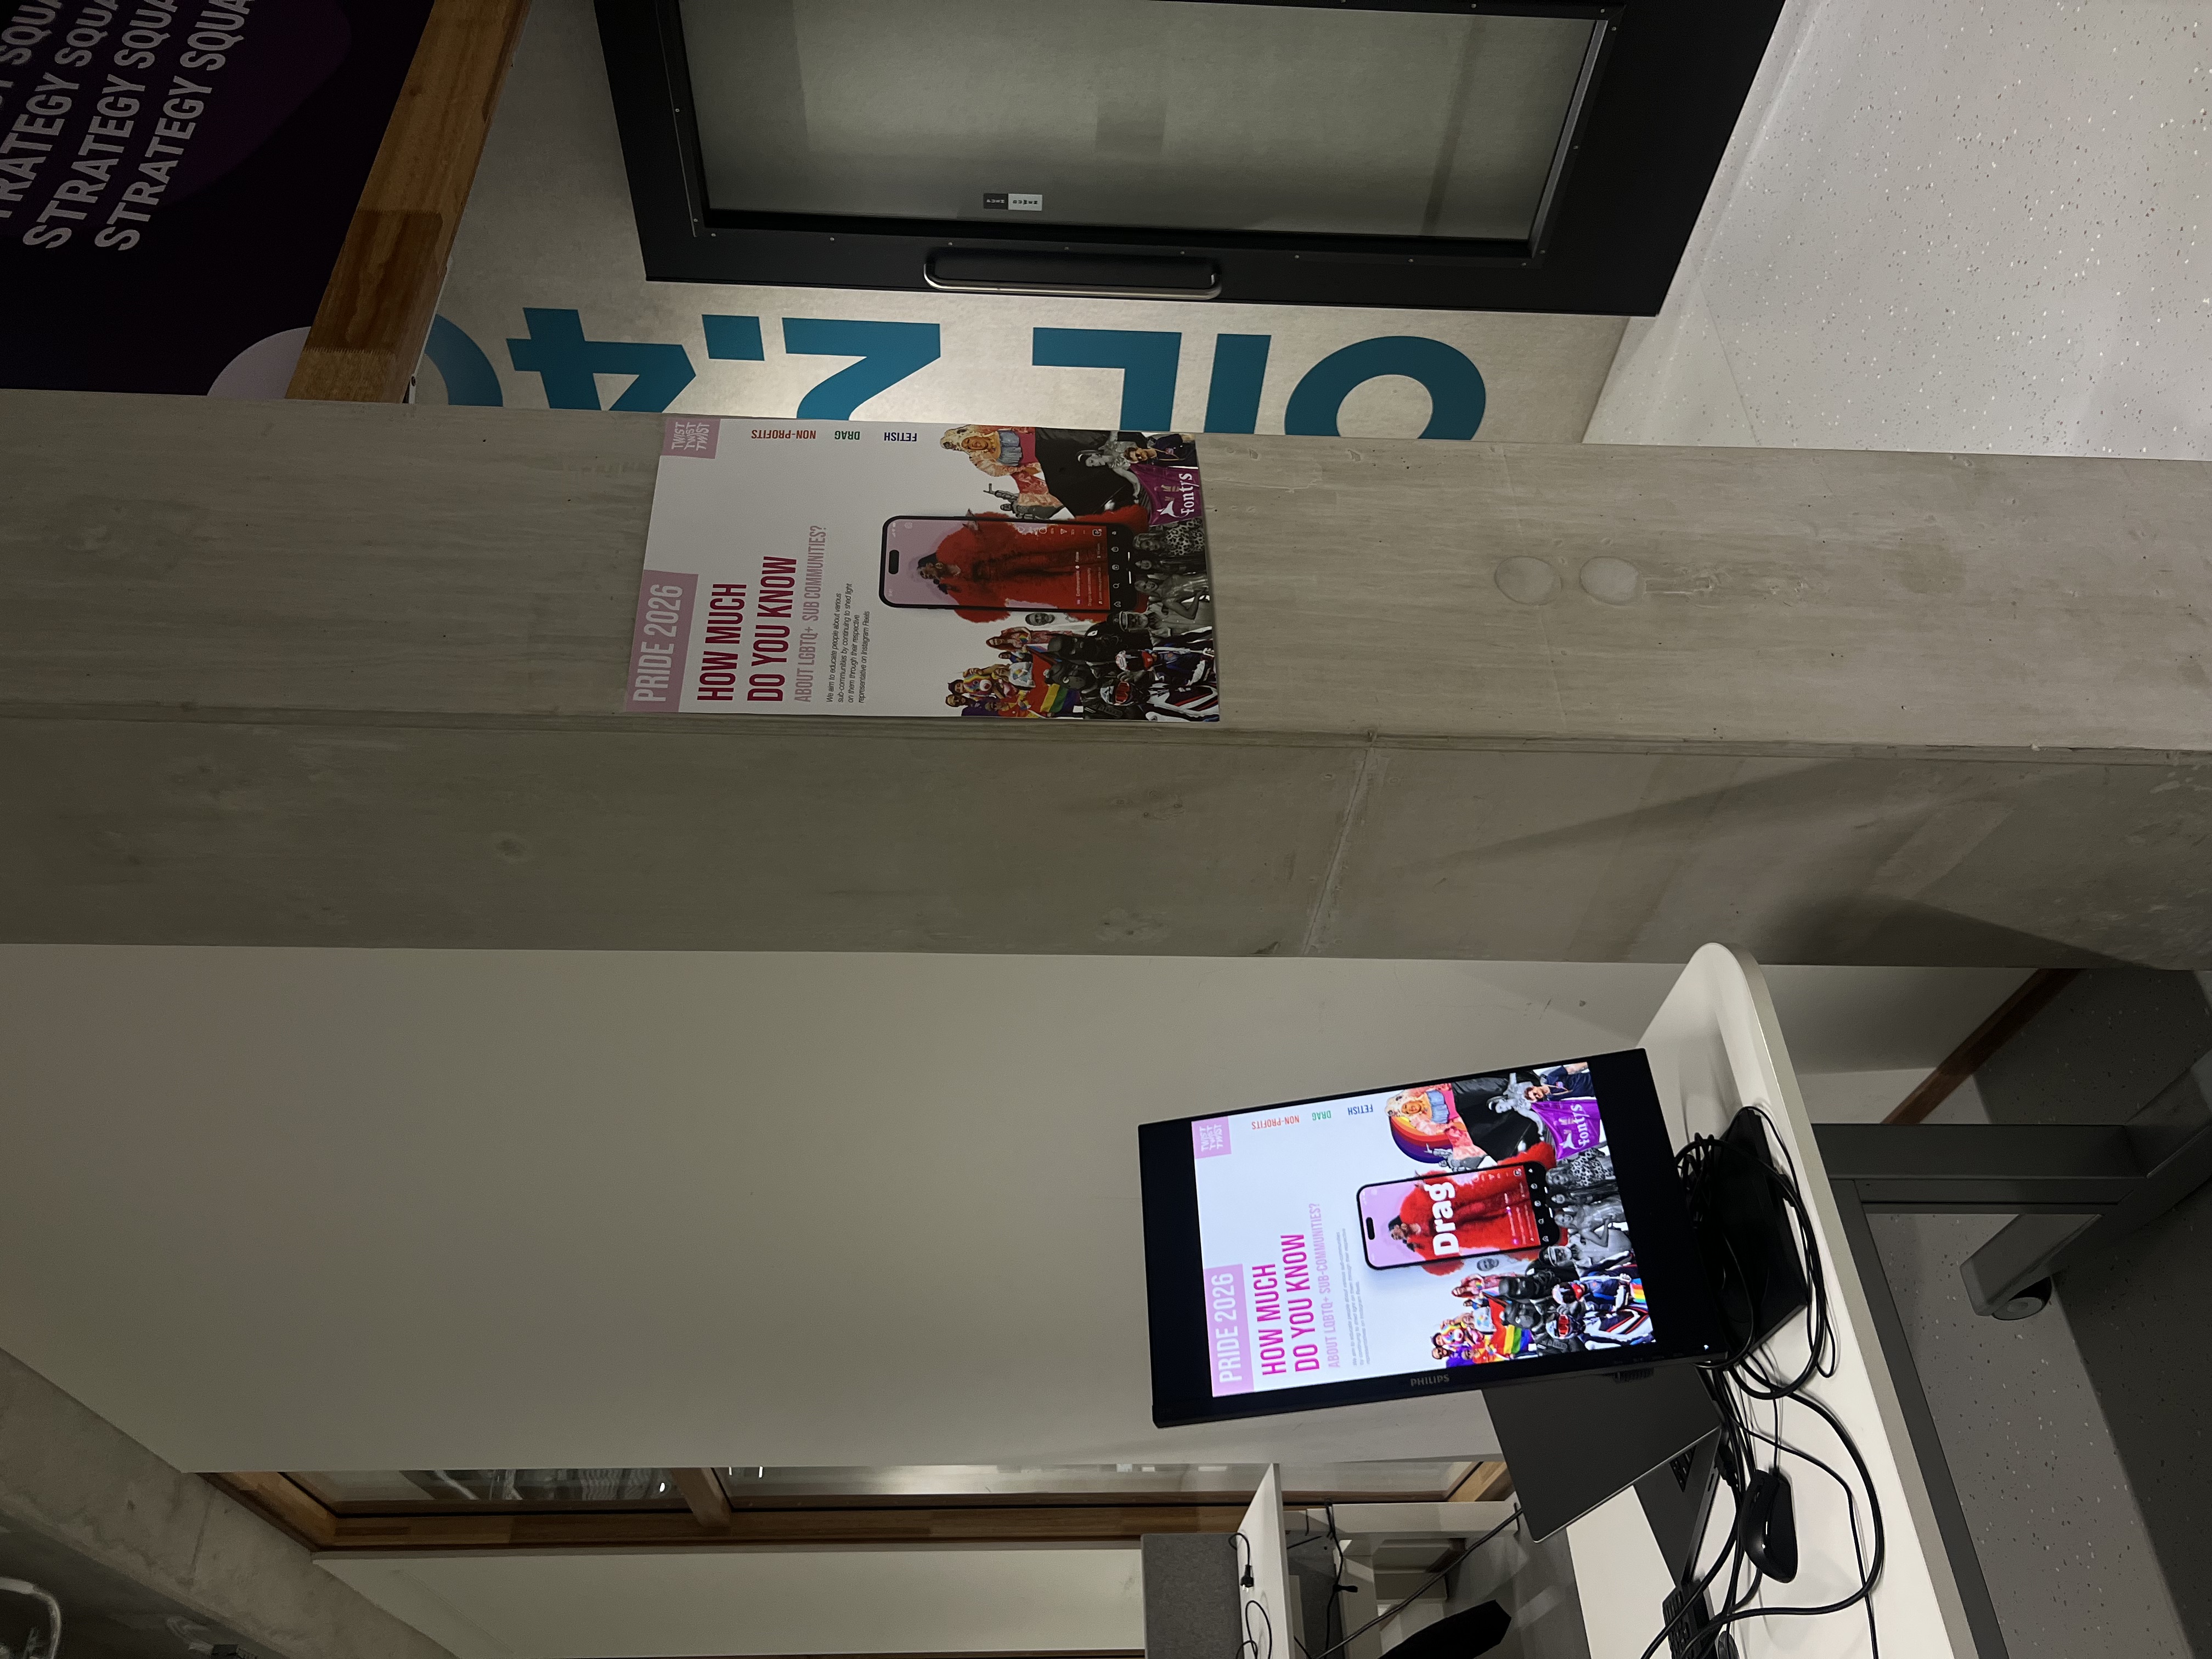
This process helped me apply user-centered and visual design principles by combining group input and teacher feedback. InDesign felt unfamiliar at first , but earlier lectures gave me enough foundation to work through it. The critique that our poster resembled a Word document pushed us to research professional Pride posters and improve our layout accordingly.
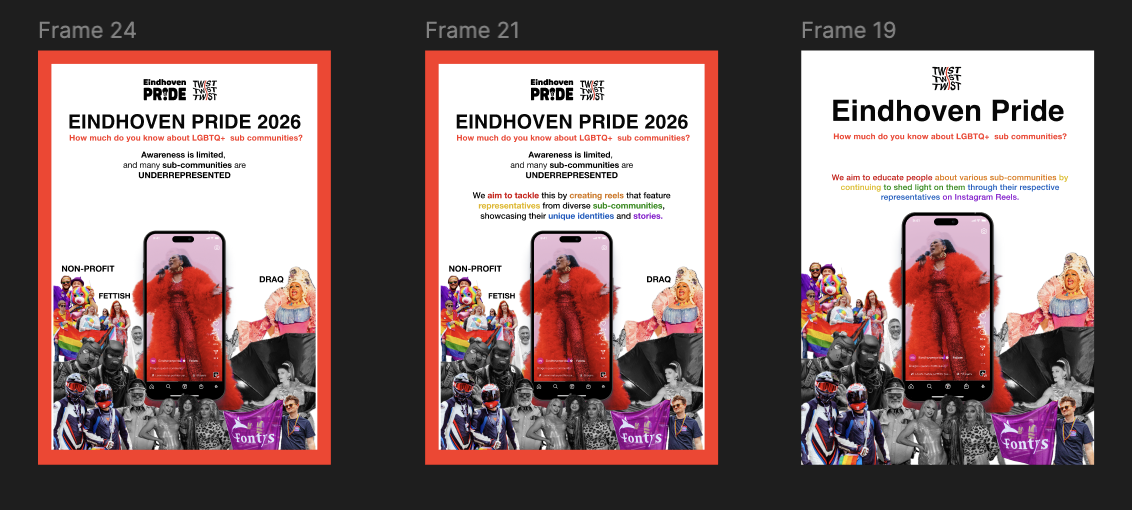
I learned how to turn a group idea into a professional-looking poster using InDesign . Even though the program was tricky at first, I got more confident by trying things out and using what I remembered from class. I also saw how helpful feedback is for improving a design.


Next time, I would start using InDesign earlier , so I have more time to explore its tools. I’d also suggest making a clear visual style guide as a team, so everyone’s work fits together better from the start.
Blender Workshop
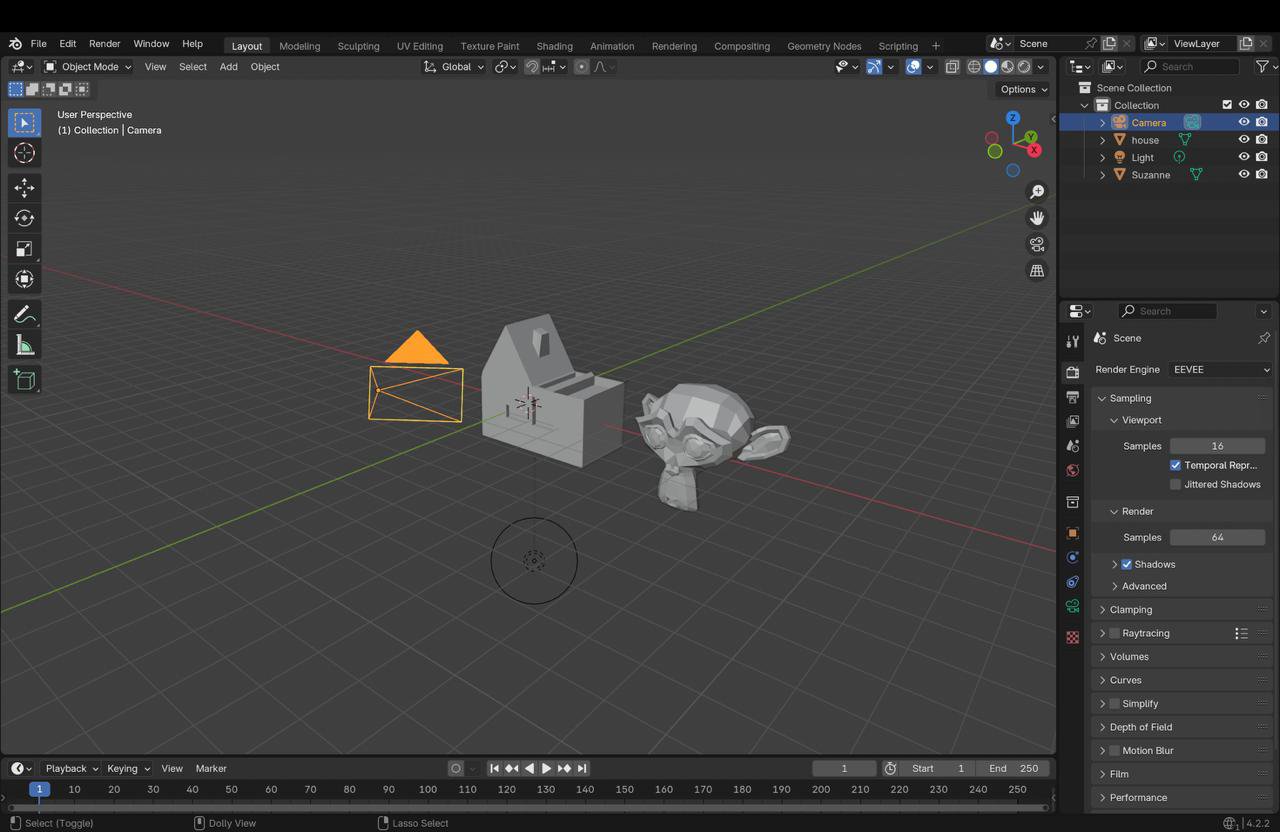
The workshop helped me understand the core functions of Blender. I had one issue with shortcuts not working , and I figured out it was because my keyboard wasn’t set to English. The teacher's step-by-step guidance made the process clear and enjoyable, especially during modeling and rendering.
I learned how to use Blender’s main tools to create a basic 3D composition . I also learned how important setup details are, like having the right keyboard settings. This experience gave me a good first step in 3D design and showed me how I can apply new tools to future projects.

Next time, I’d check my system setup before starting , so I avoid small issues like shortcut errors. I’d also take some notes during the workshop to remember useful shortcuts and tips. I feel more motivated now to keep learning Blender and improve my 3D design skills .
Filming Glow
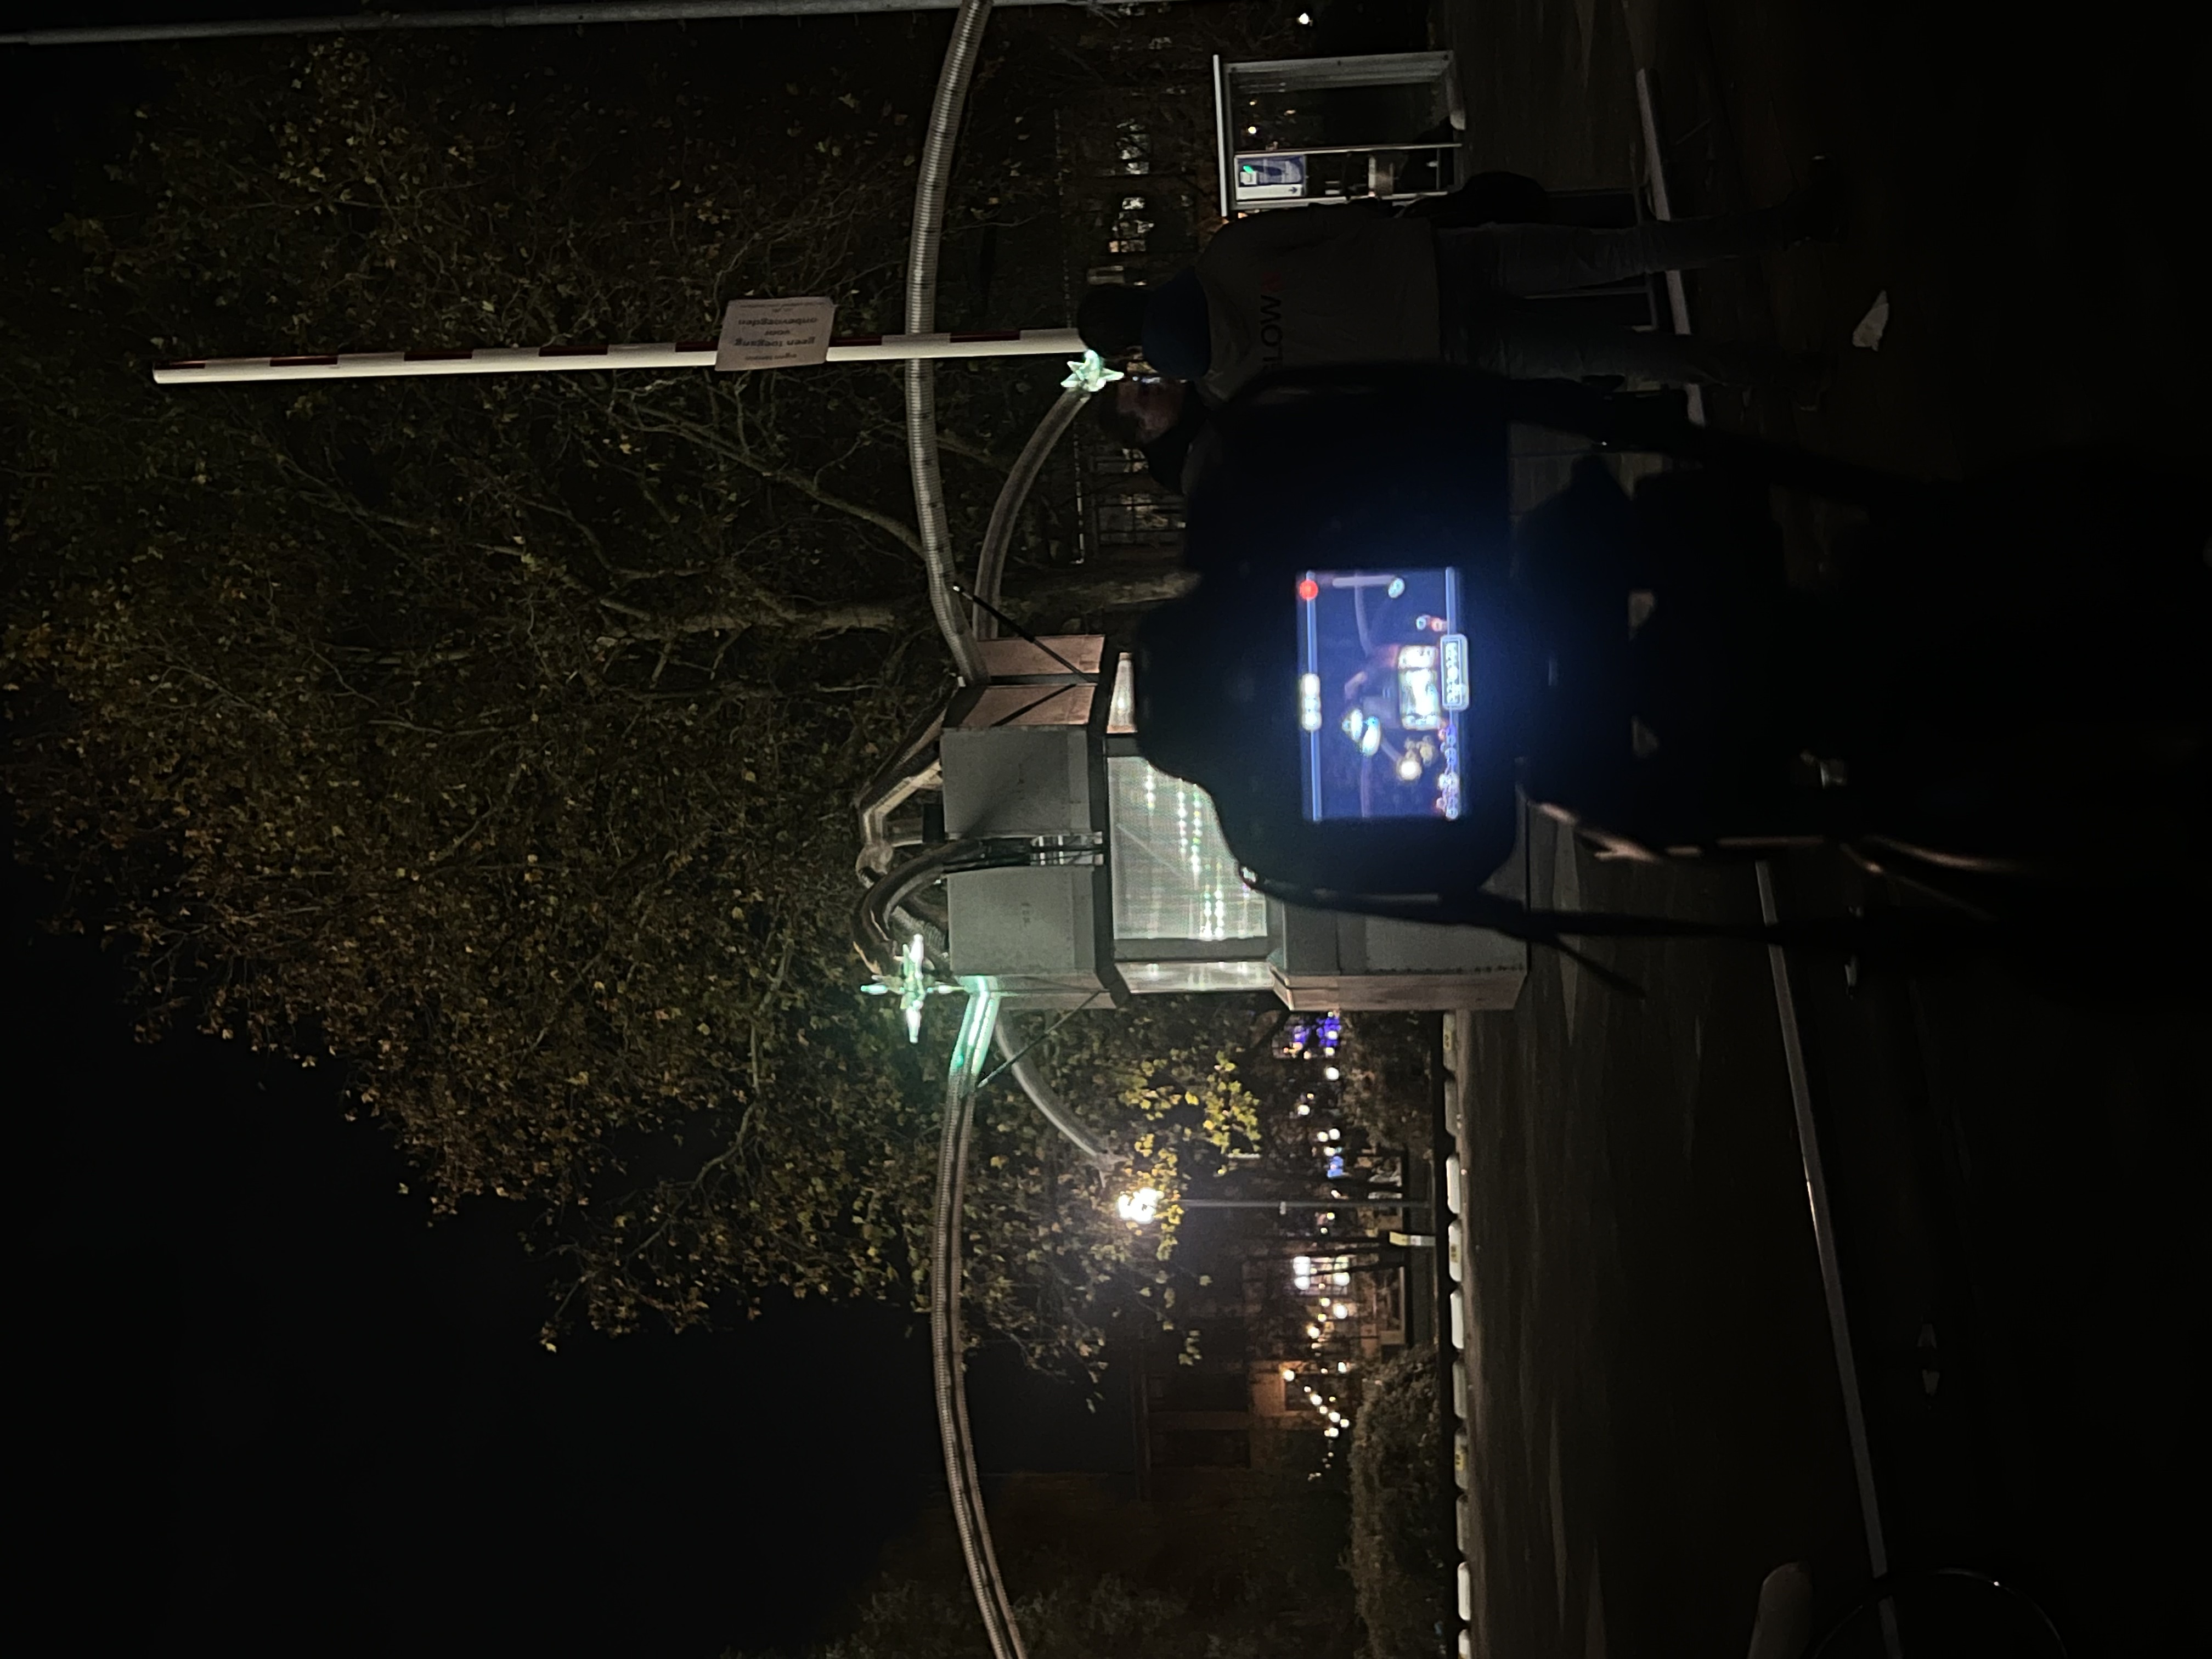
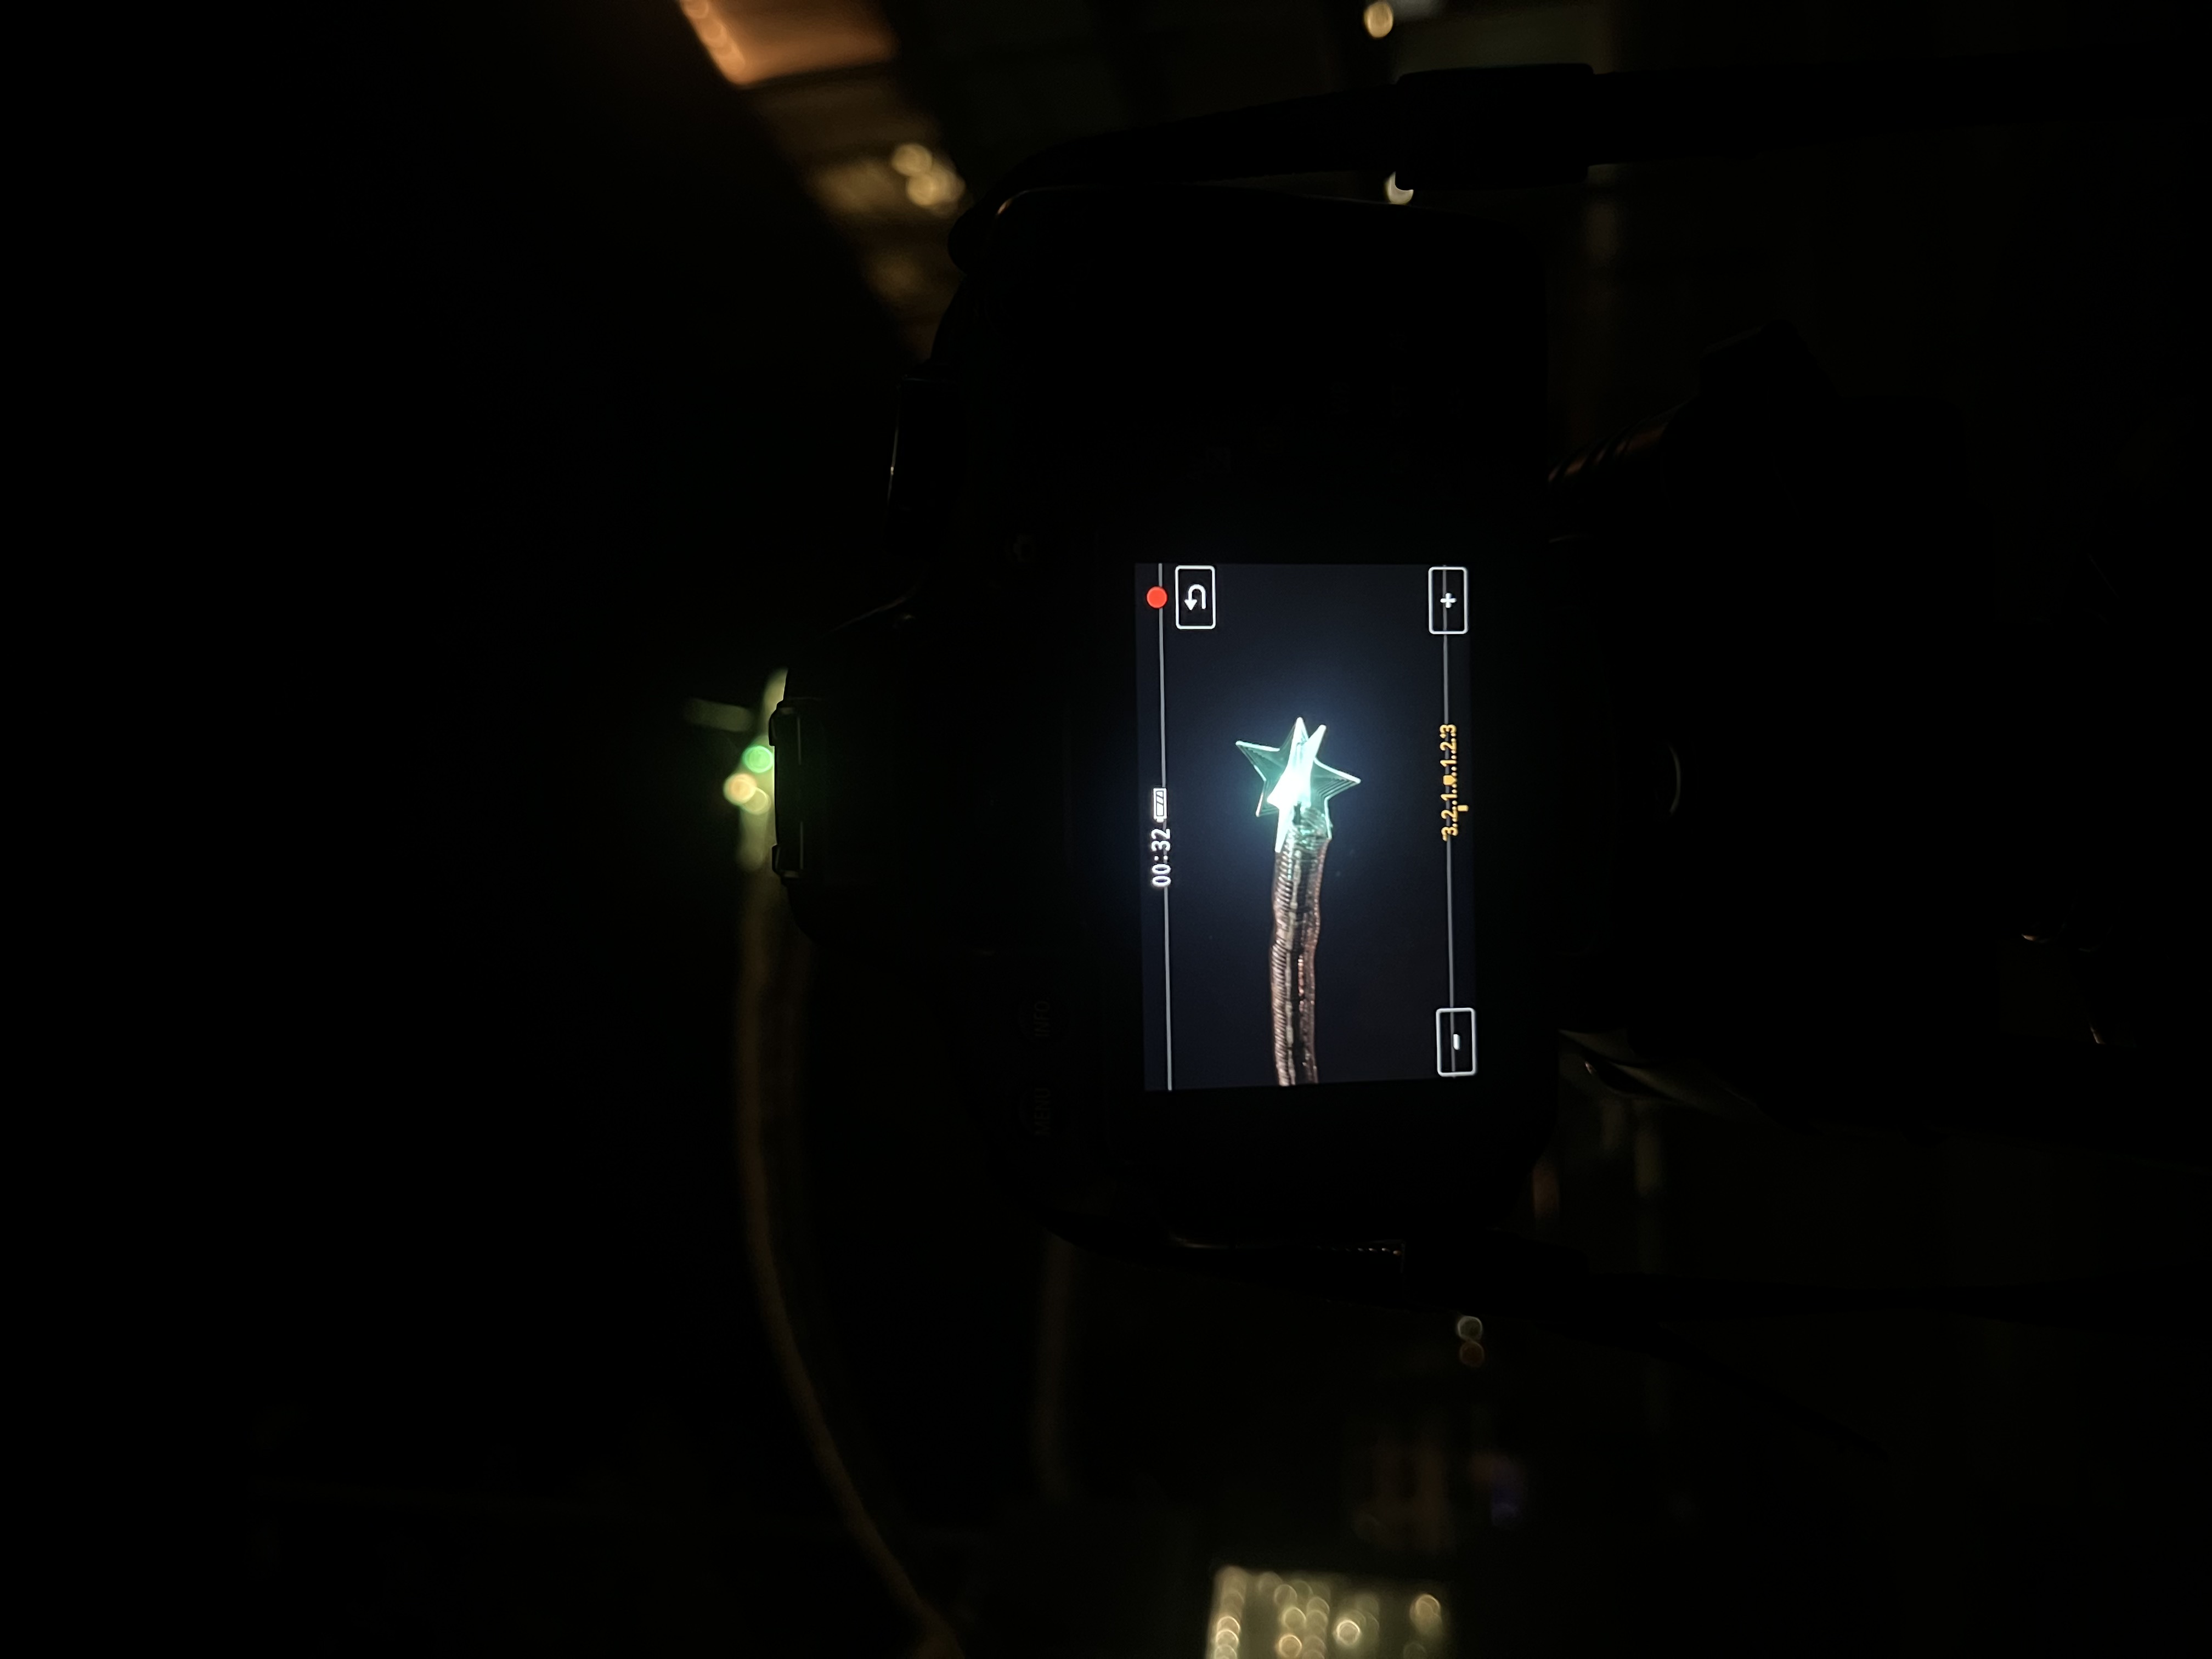
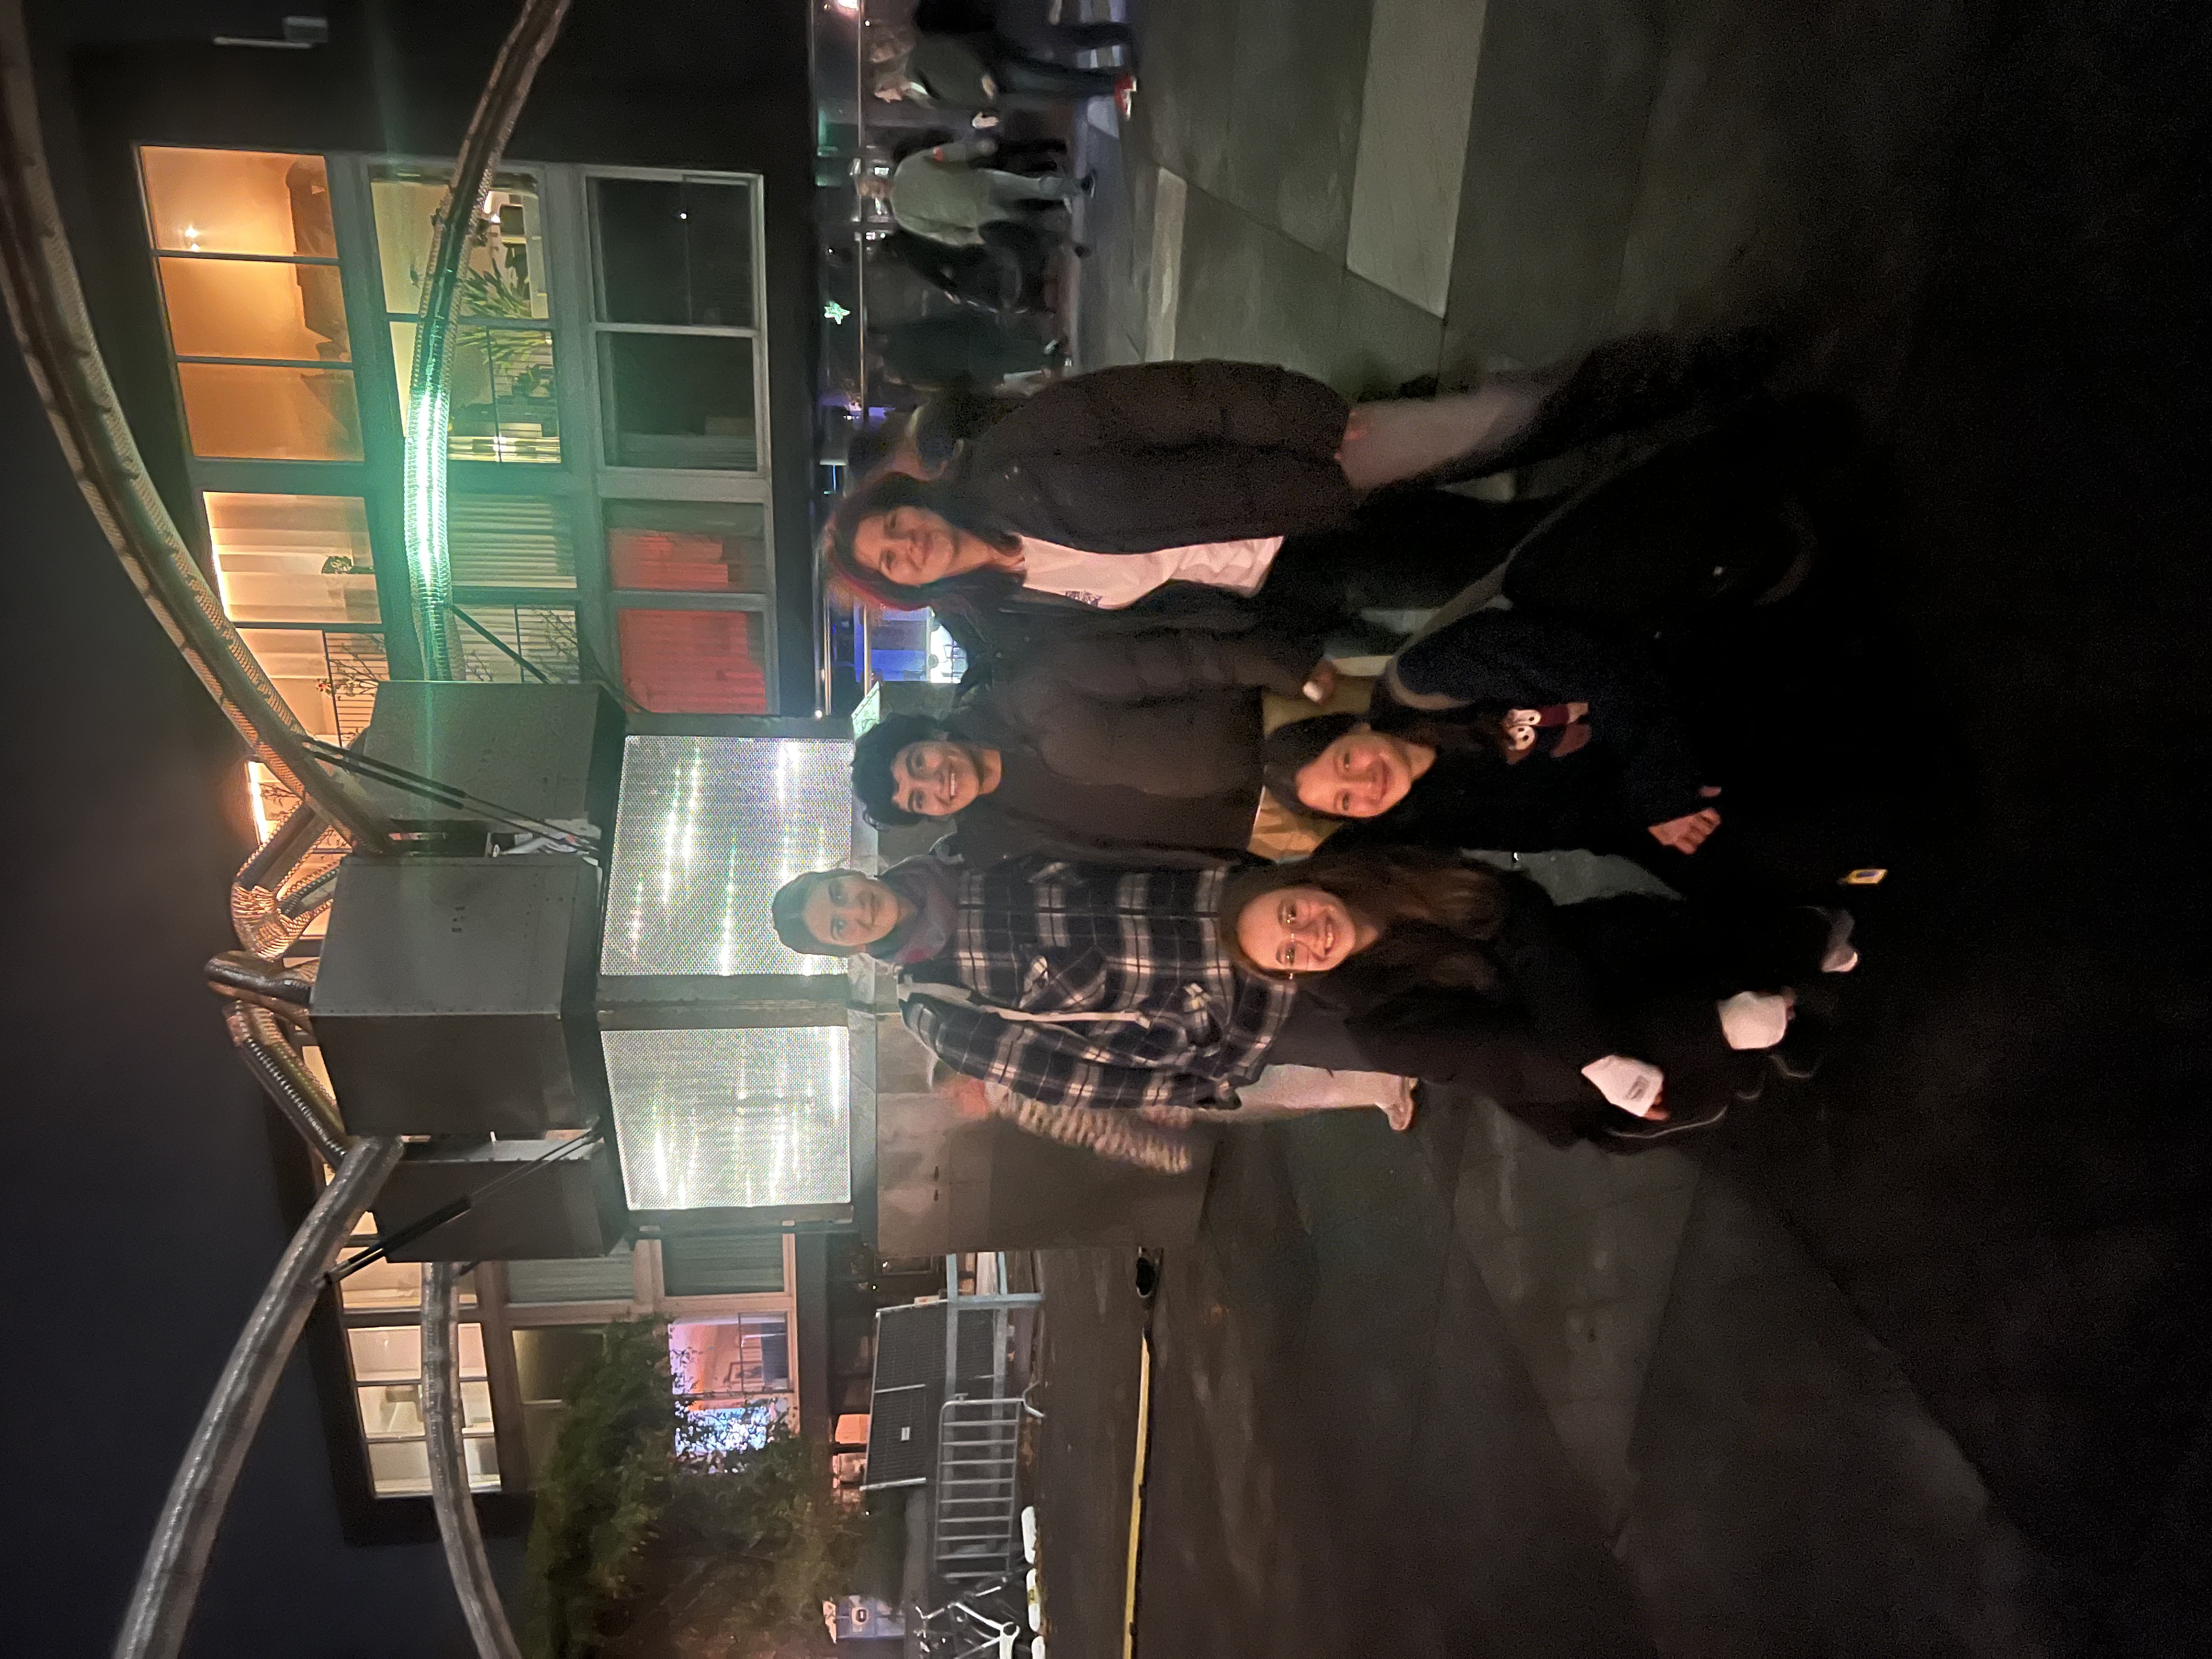
The shoot went well, and the installation was visually exciting. Discussing shot ideas as a group helped us focus on capturing movement and interaction , which fit the concept well. We worked with multiple cameras and lenses, which gave us flexibility in framing. Using professional gear improved the quality of our footage .(I personally filmed on Canon Eos 650D + Canon EF 50 mm lens)
I learned how to approach a real media task professionally—from research and planning to filming with high-quality equipment . Understanding the installation helped guide our visual decisions, and I gained confidence in capturing content that’s both creative and functional for a specific media platform.
Next time, I’d prepare a more detailed shot list and test the equipment earlier to save time on location. I’d also like to explore more dynamic movement shots to make the visuals even more engaging for social media use.
Filming Non-Profit organisation
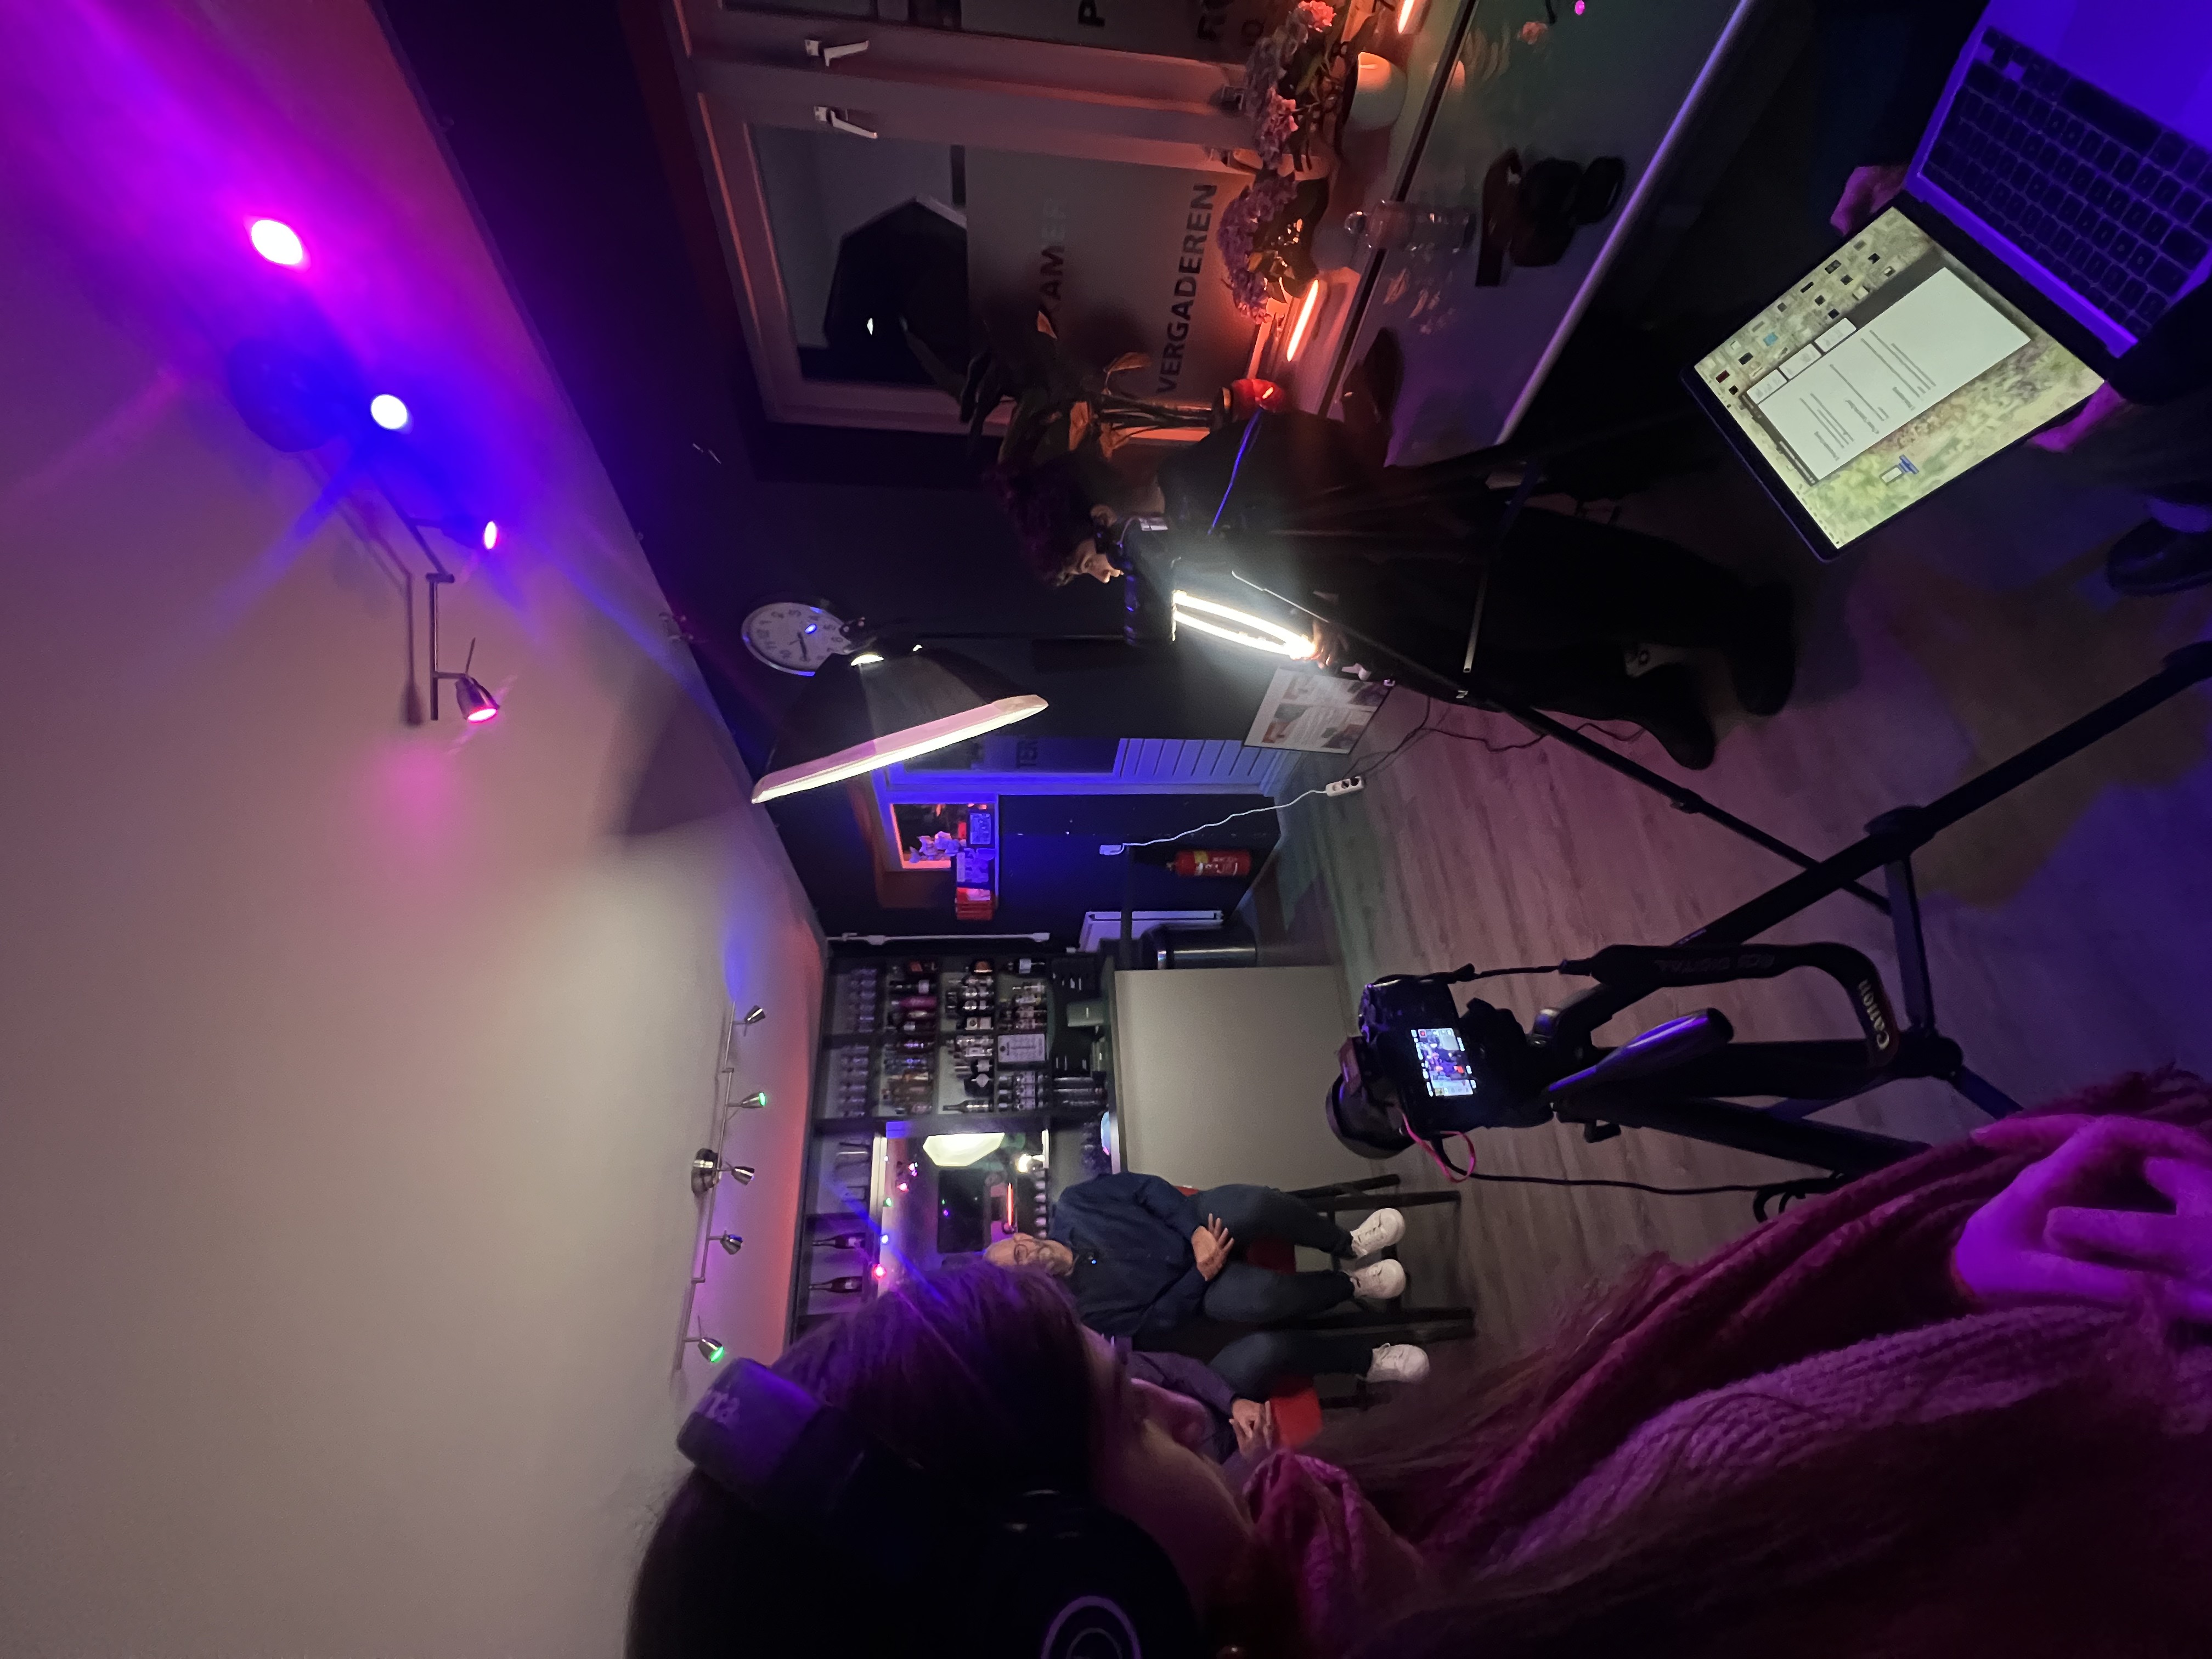


The setup went smoothly after some testing, and filming in a bar made the shoot more challenging due to lighting and space. I focused on getting strong camera angles and steady shots, even though holding the heavy gear for long periods was tough . (mostly I was using Sony A7S Mark III )We adapted well and got useful material.
I learned how to prepare for a professional shoot by researching techniques and understanding equipment setup . Working in a live environment improved my ability to adjust quickly, and I gained experience in capturing both A-roll and B-roll for real clients.
Next time, I’d use a shoulder rig or stabilizer to manage heavy gear , especially in tight spaces. Overall, it was a great learning experience that helped me grow as a media creator. And of course our next step is to edit these videos as a reel.